September 8, 2012

DIY Studded Sneakers

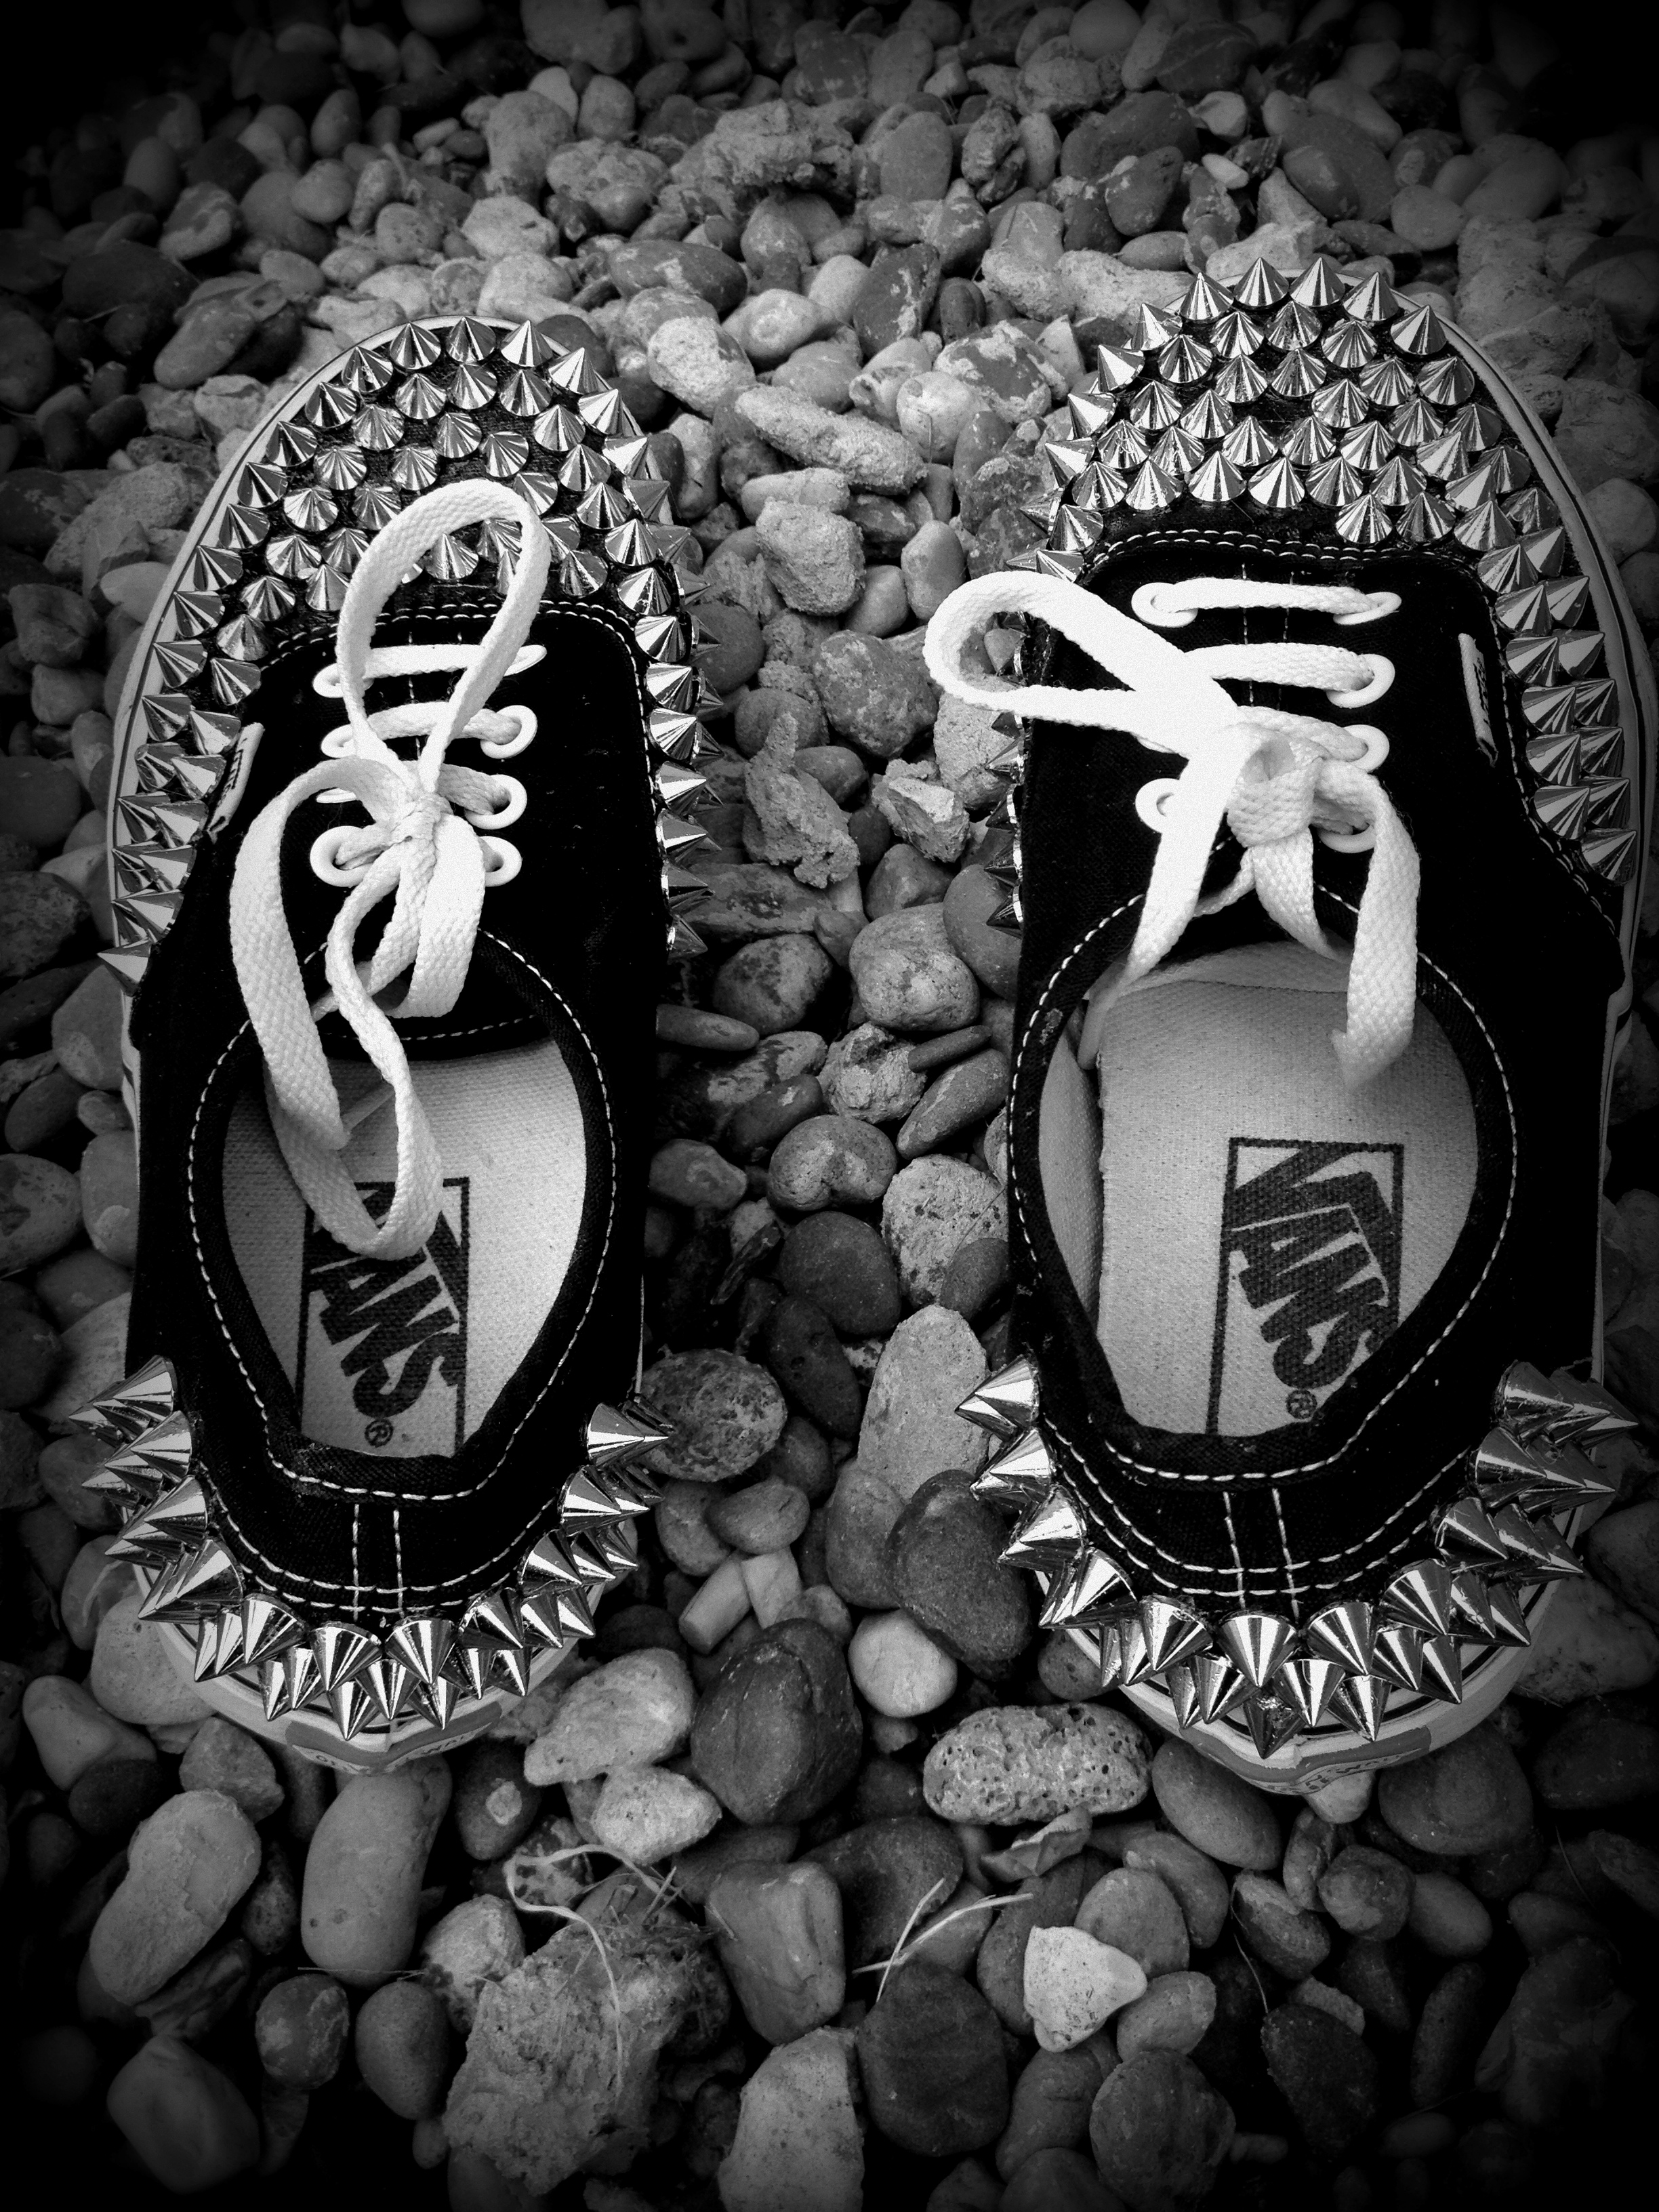
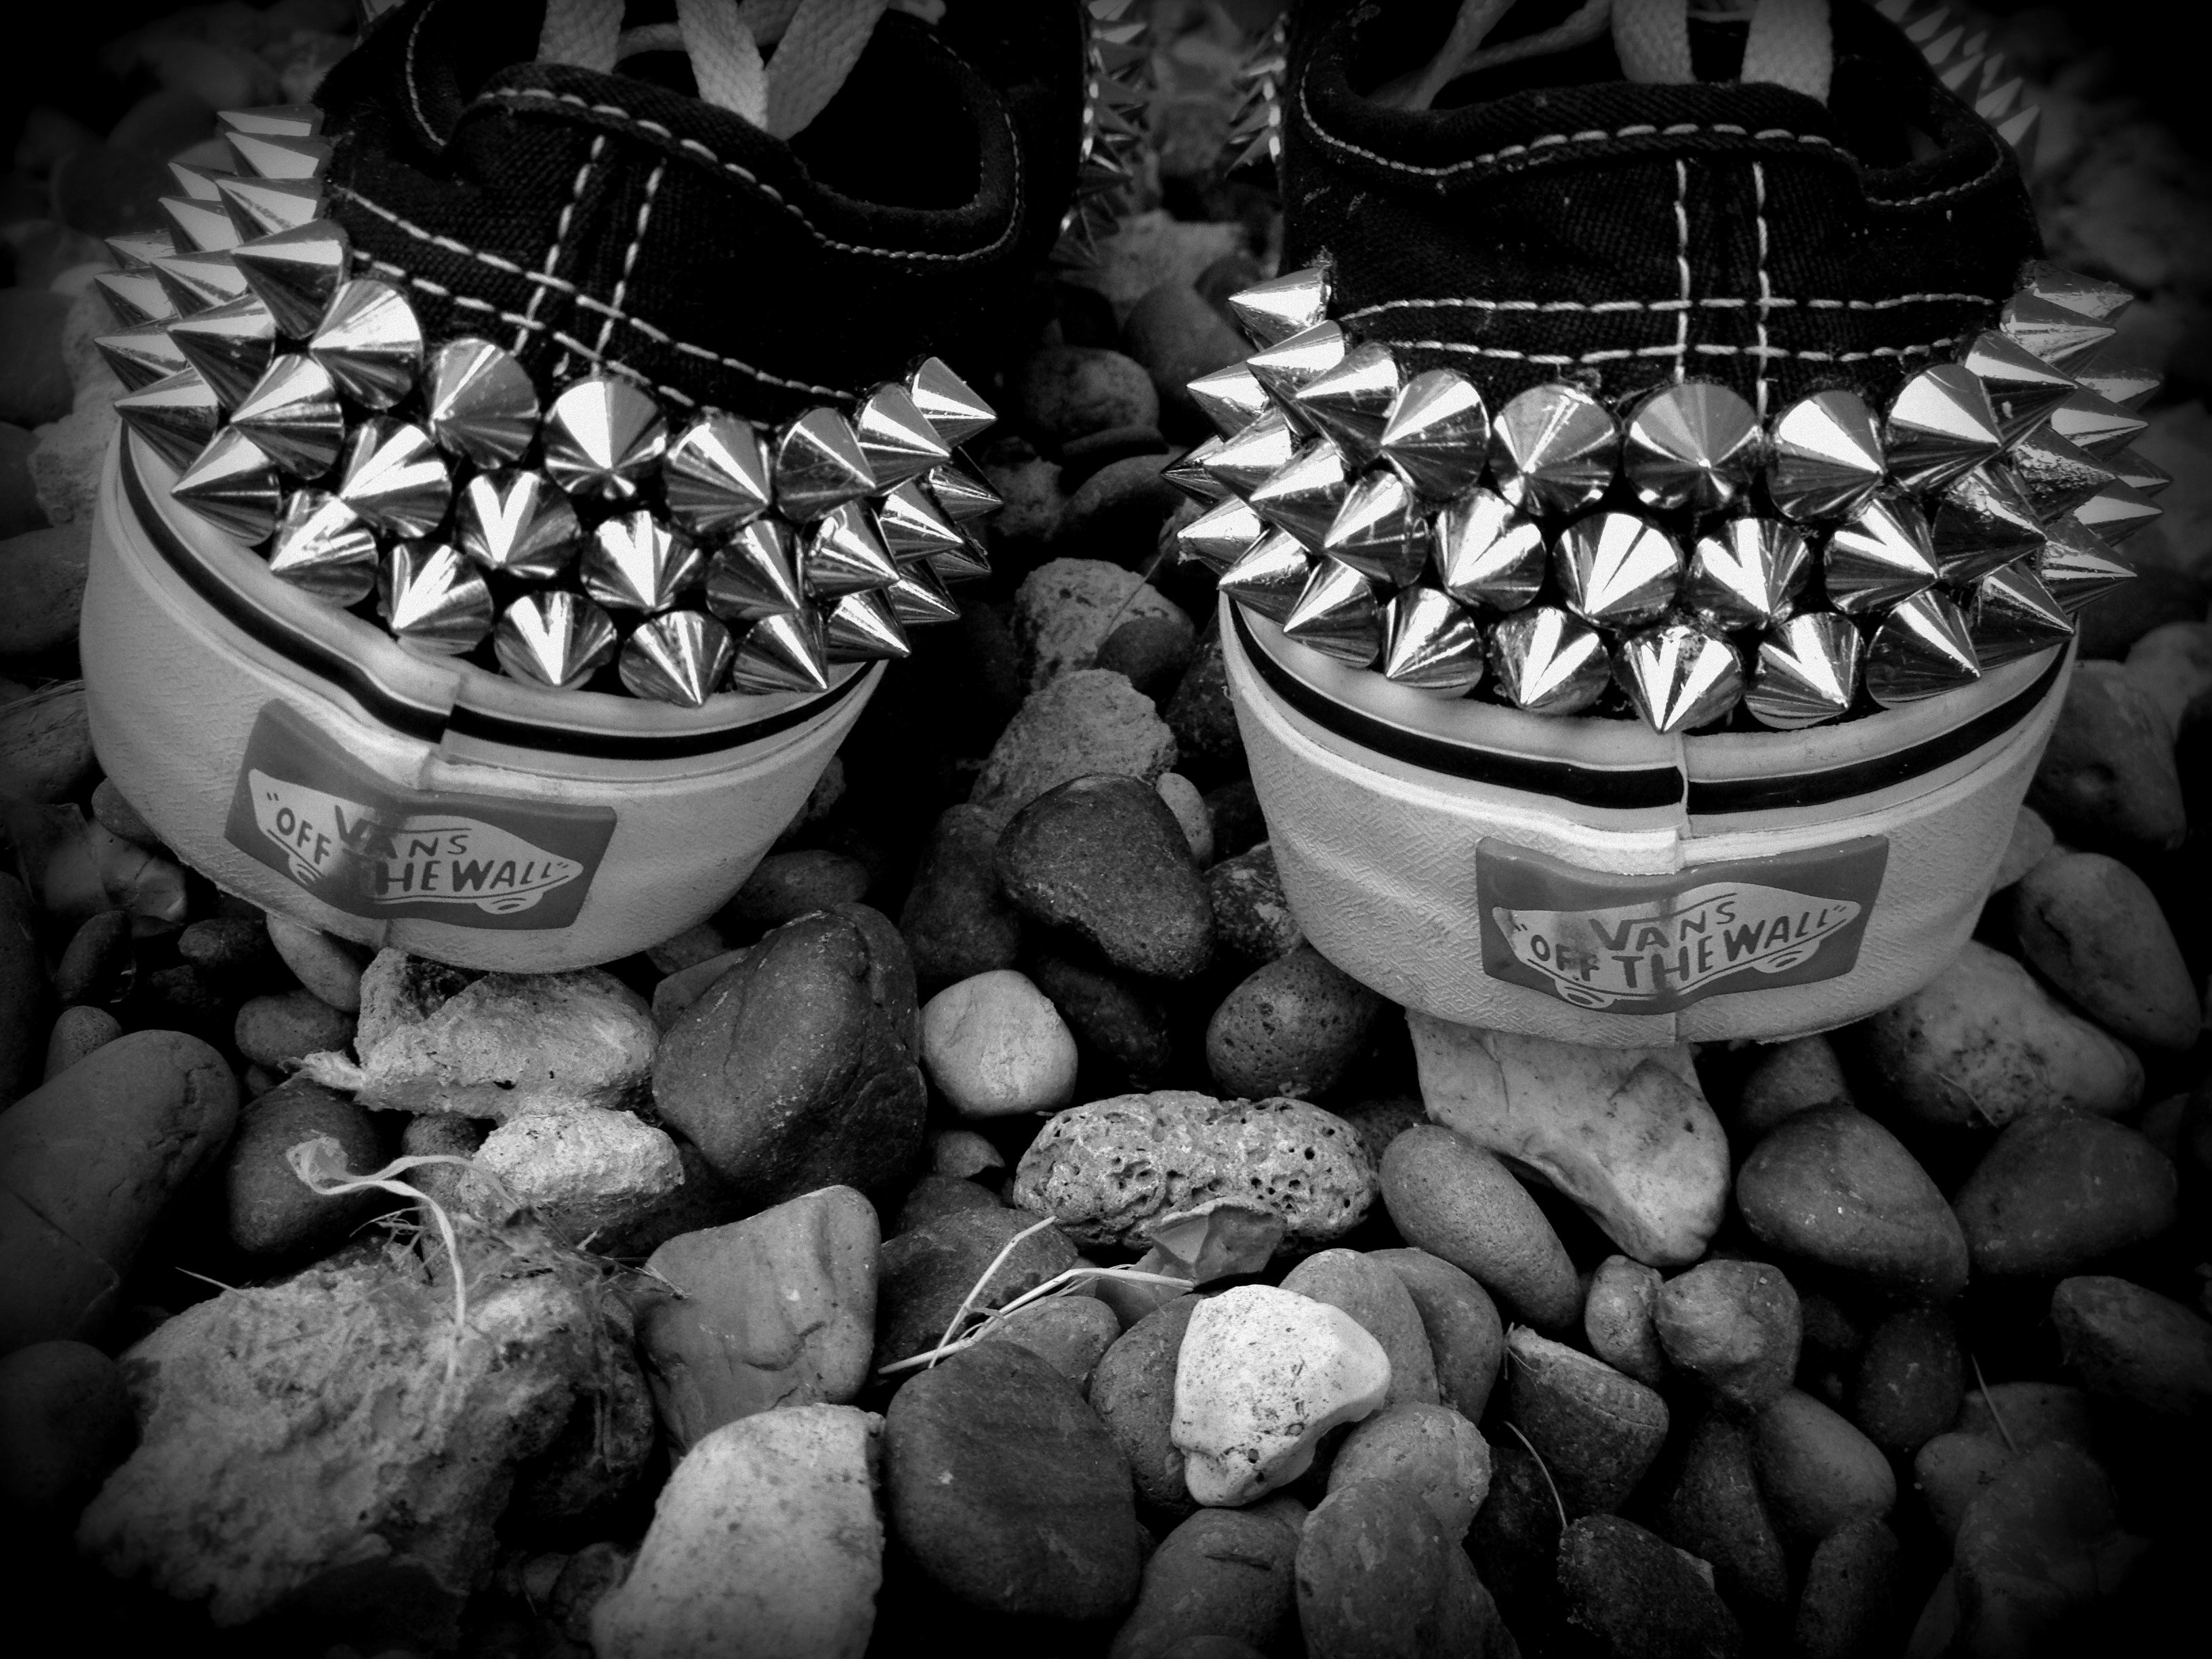
I finally stopped procrastinating and sat down to do some major DIY Sneaker Studding! I studded my vans whilst watching Grey’s Season 5 in the background. Hope this helps you to make your own DIY Studded Sneakers. You will need: A pair of Sneakers E6000 adhesive 200-250 Cone Spikes (Message the seller asking for his […]

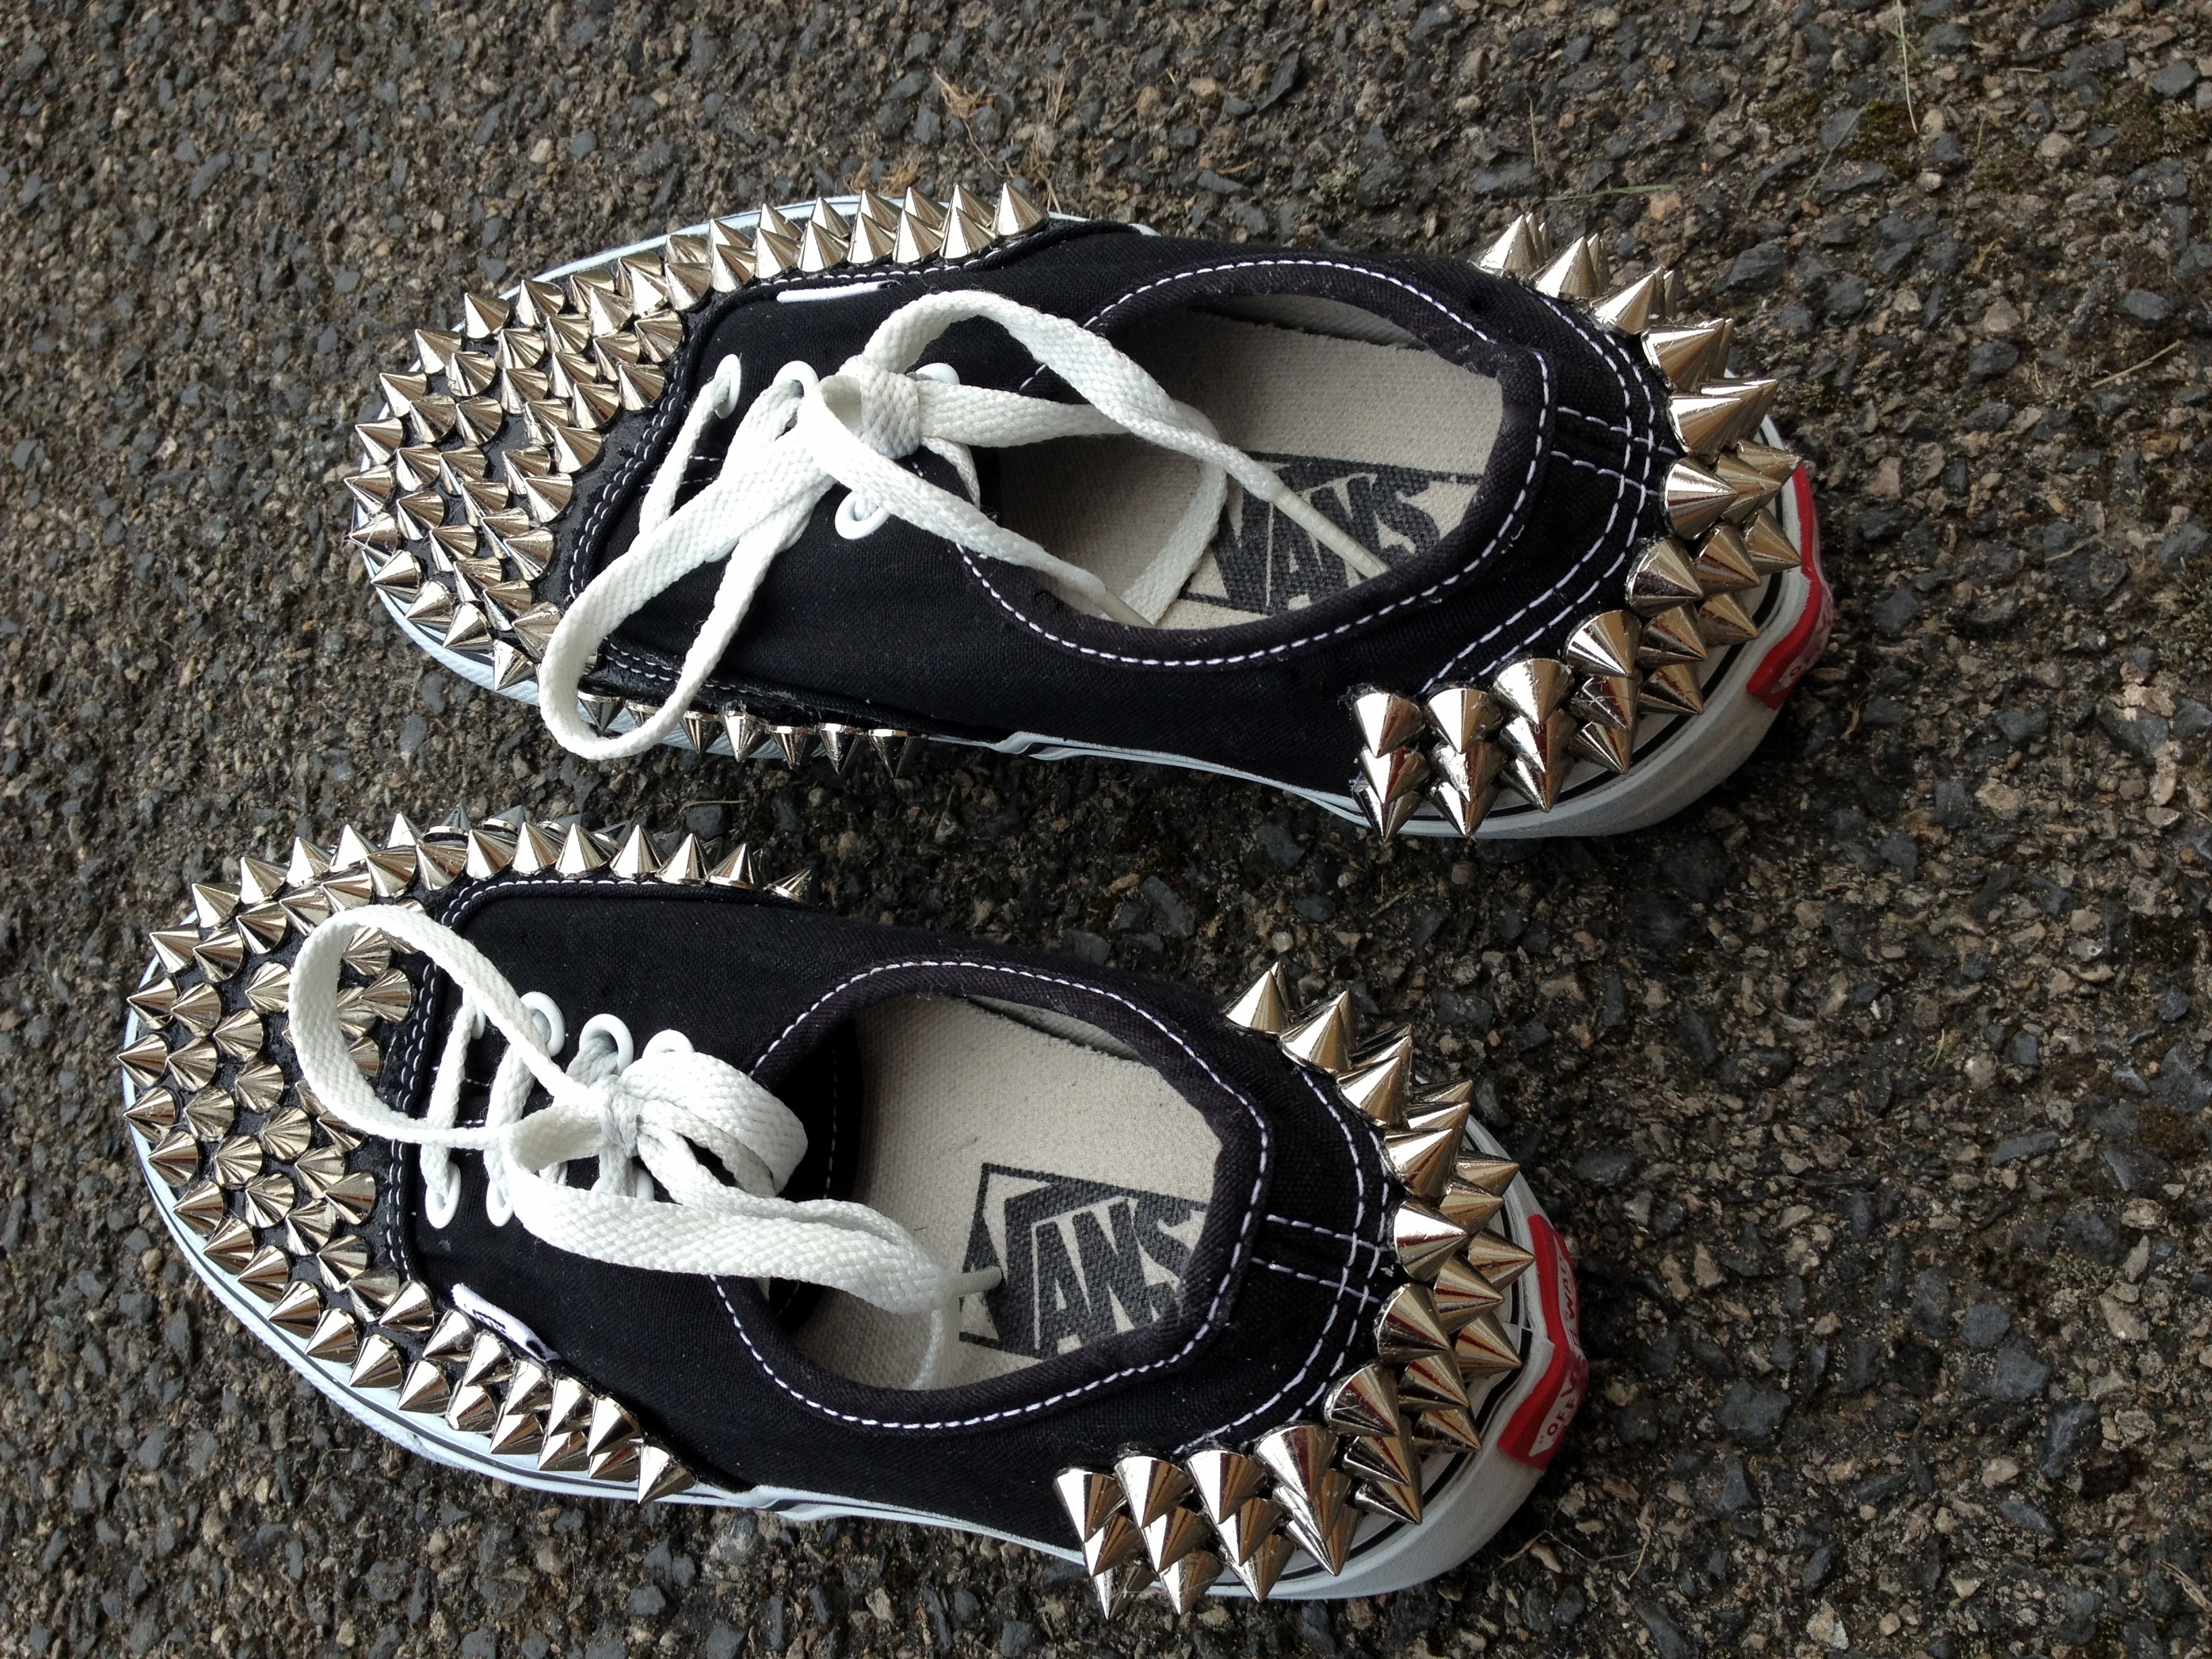
I finally stopped procrastinating and sat down to do some major DIY Sneaker Studding! I studded my vans whilst watching Grey's Season 5 in the background. Hope this helps you to make your own DIY Studded Sneakers.

DIY Studded Sneakers

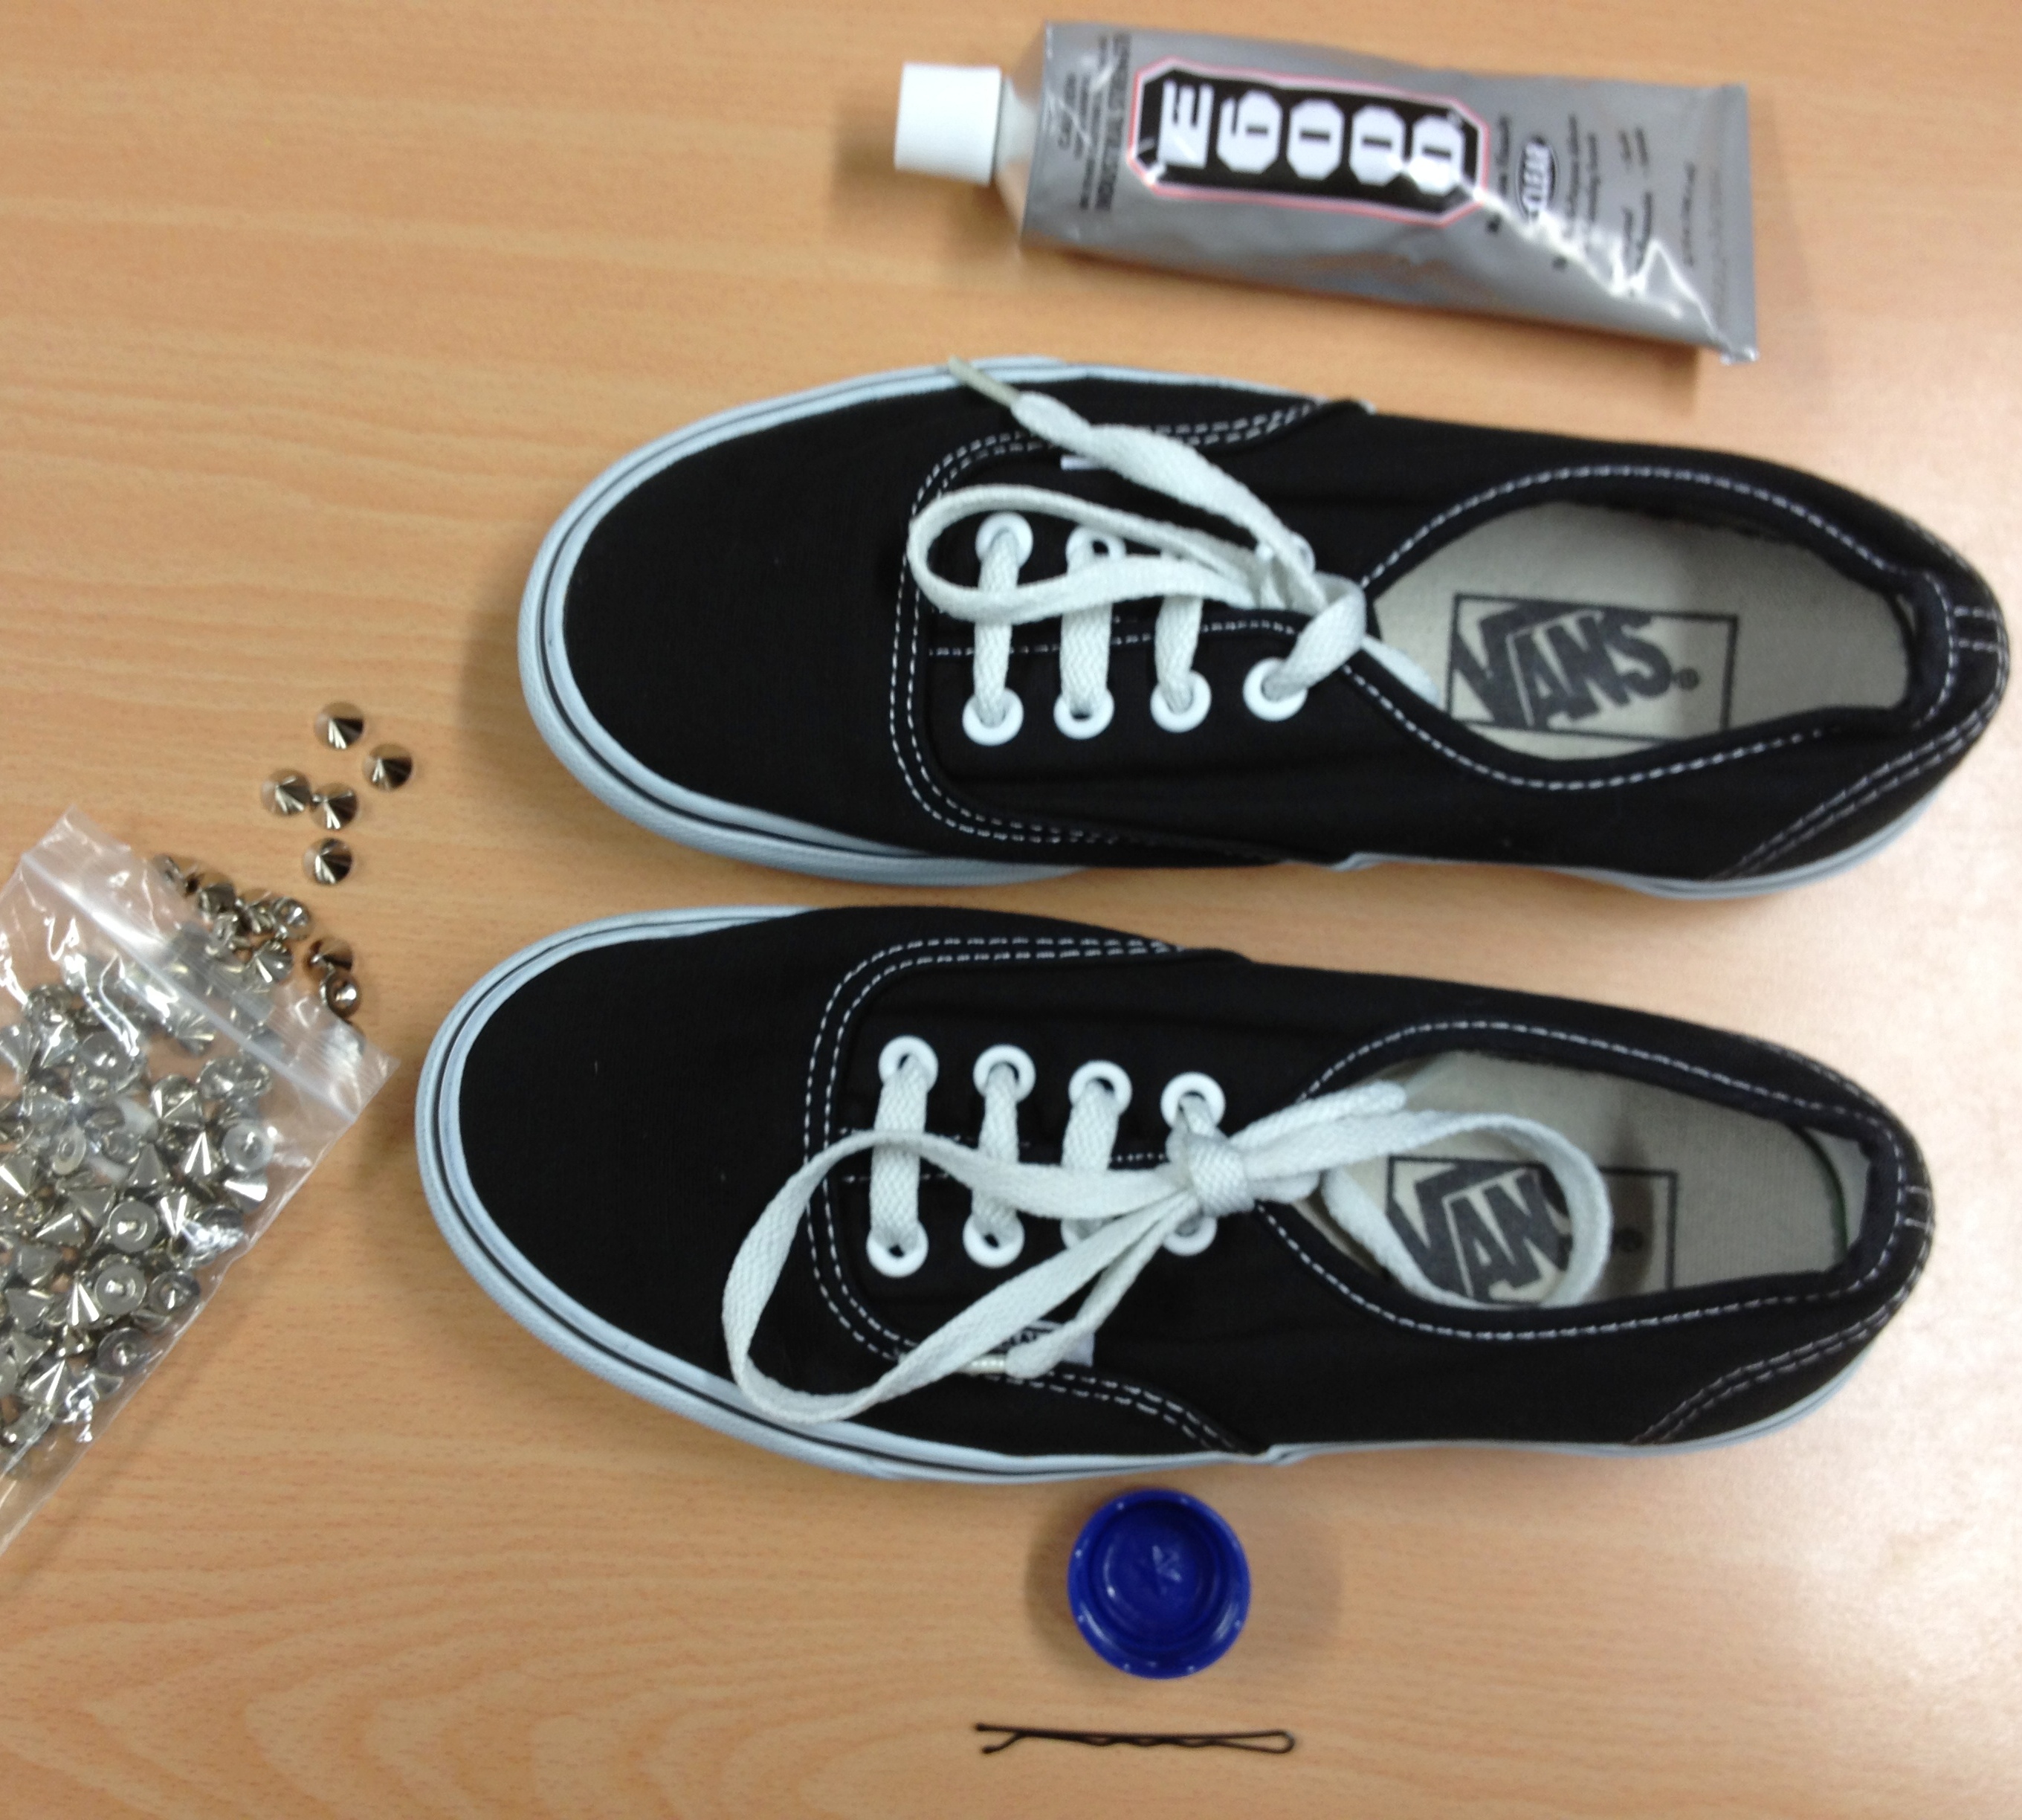
You will need:
A pair of Sneakers
E6000 adhesive
200-250 Cone Spikes (Message the seller asking for his best price)
A container
A curvy grip or toothpick

How to Stud Vans

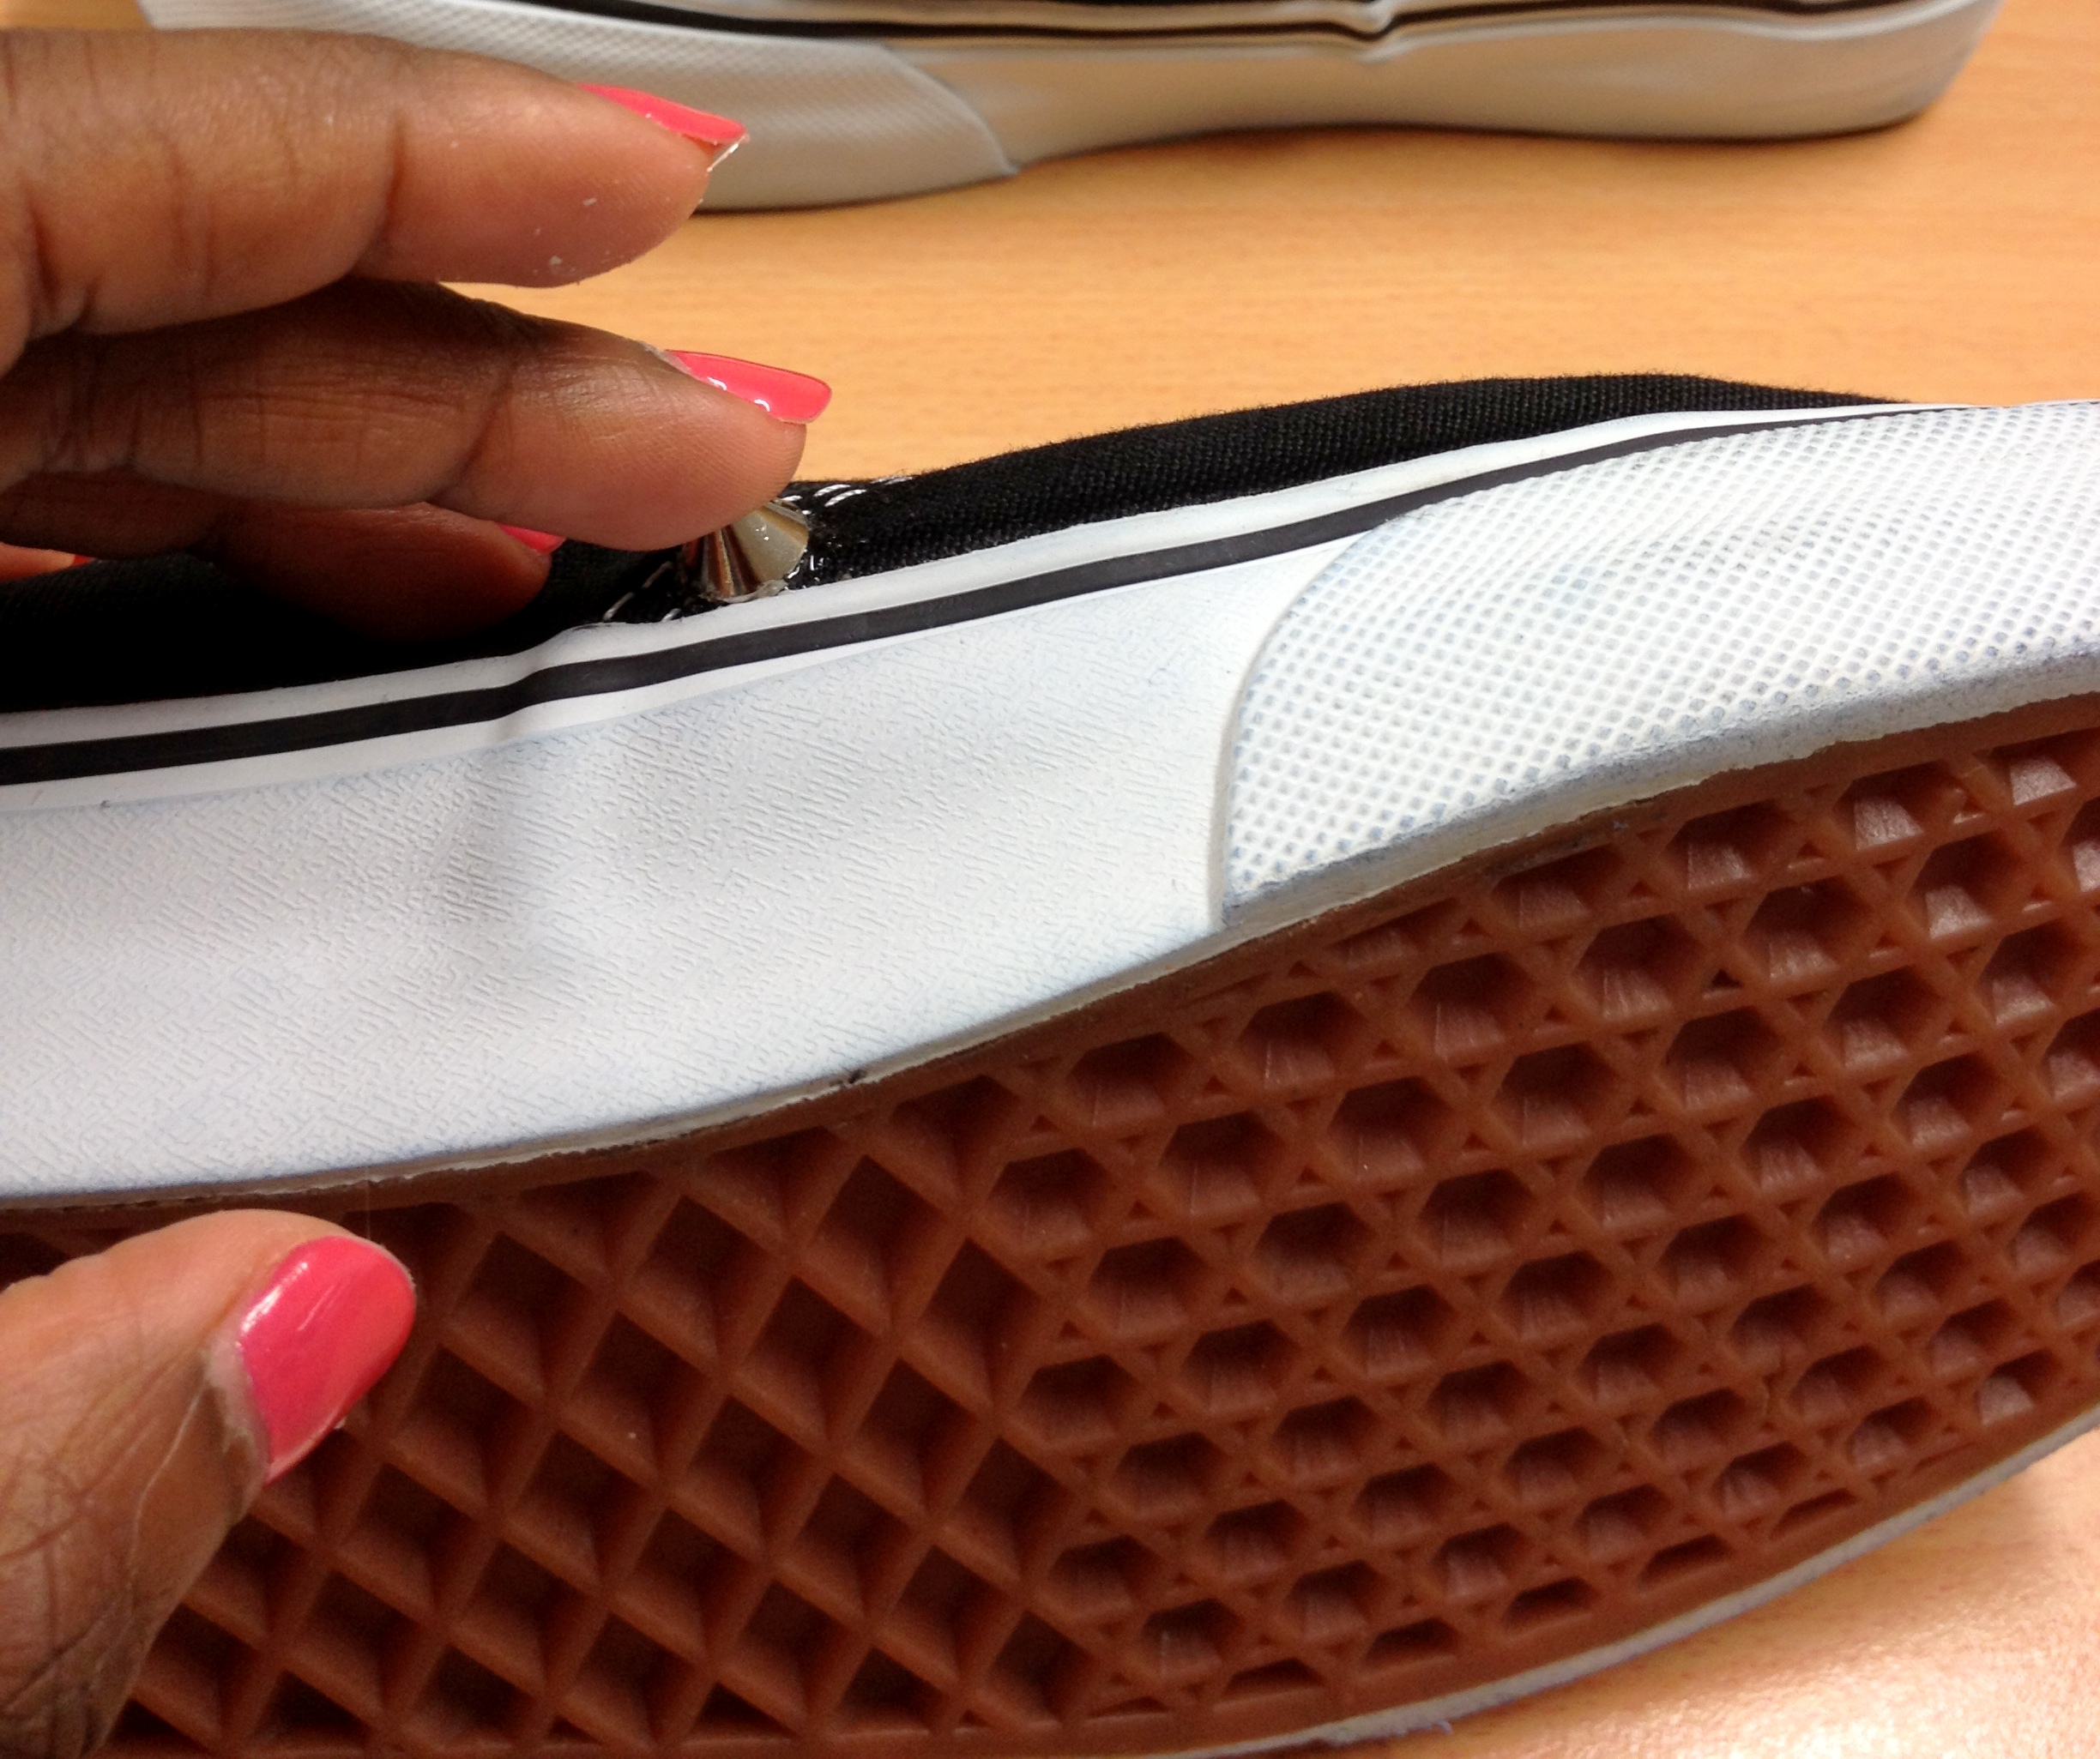
Squeeze some glue into your chosen container, I would use a water bottle cap. Using your applicator, apply a small amount of glue onto the back of the stud. I would use a toothpick but there was none on the day I decided to do away with procrastination so I used a hair curvy grip.
Then press the stud onto the shoe and hold it in place for a few seconds. I would recommend using a new or unwashed pair of Vans. My Vans had infact just come out of the wash so the canvas was soft and it was a massive challenge getting the stud to stay on. This made the job messier and more time-consuming.

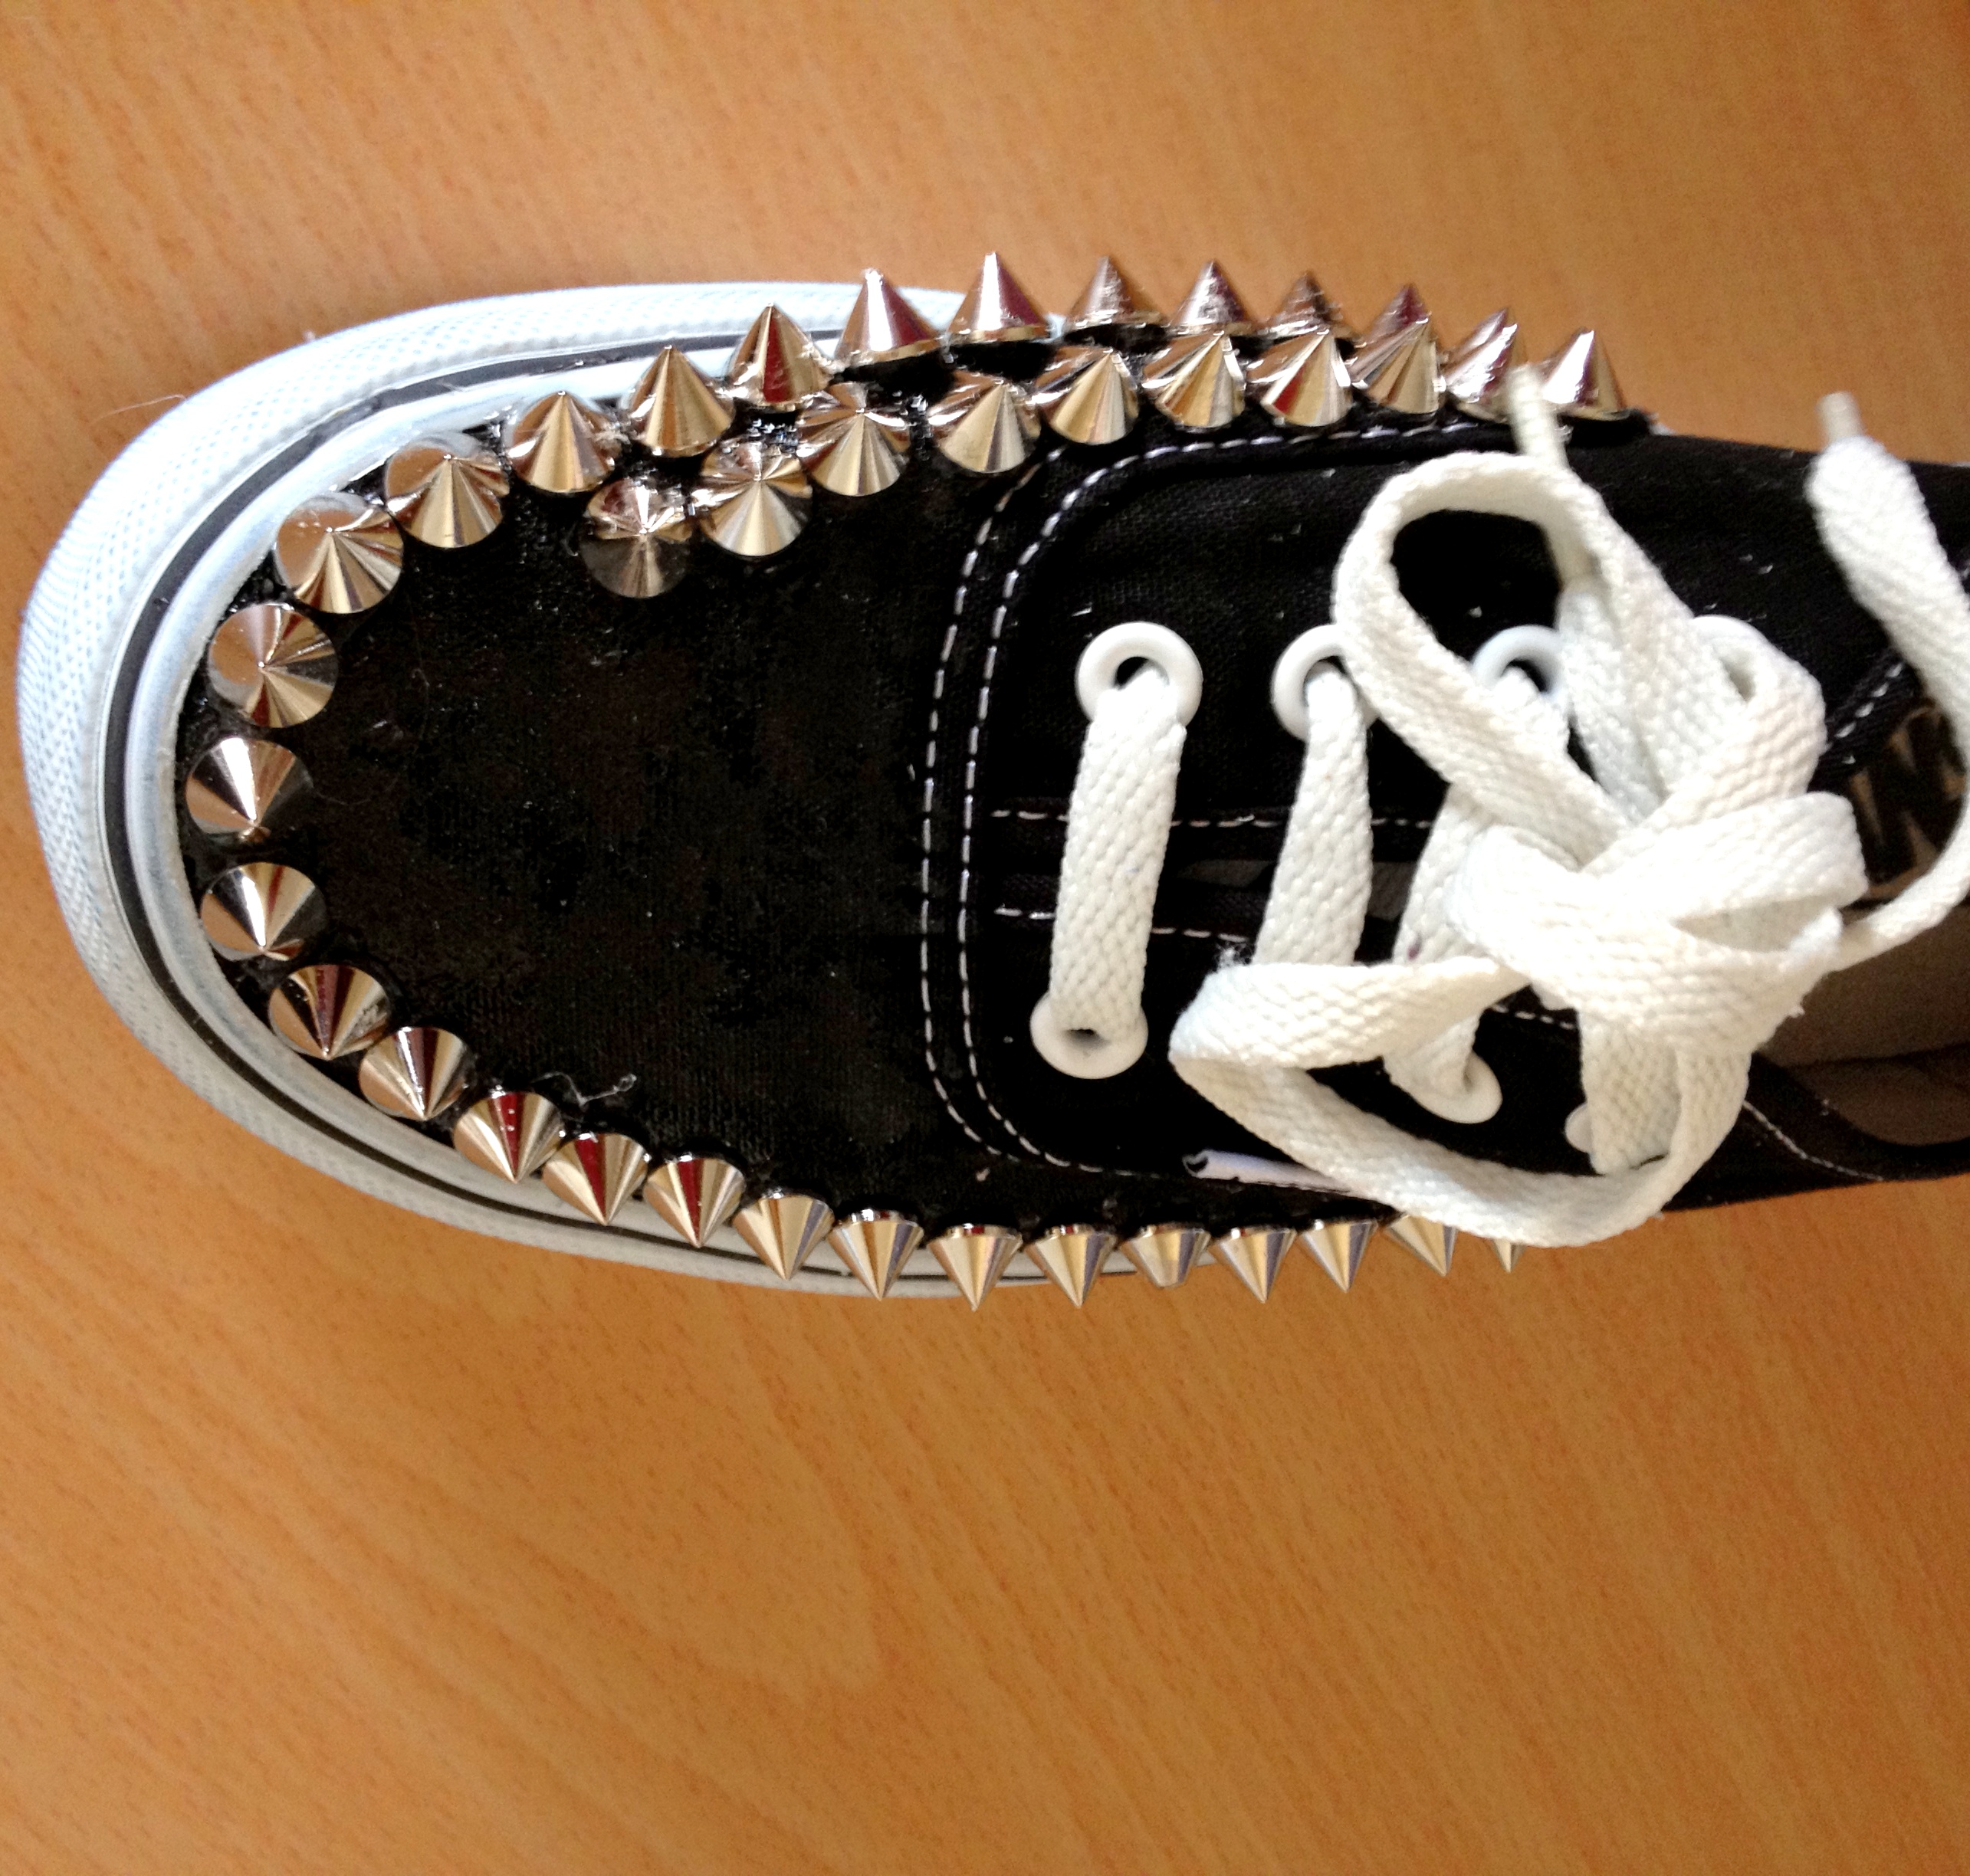
Glue the spikes onto the sneakers going round horizontally.
After putting that one stud on, I decided to start with the heel cap. Don't ask why, lol.

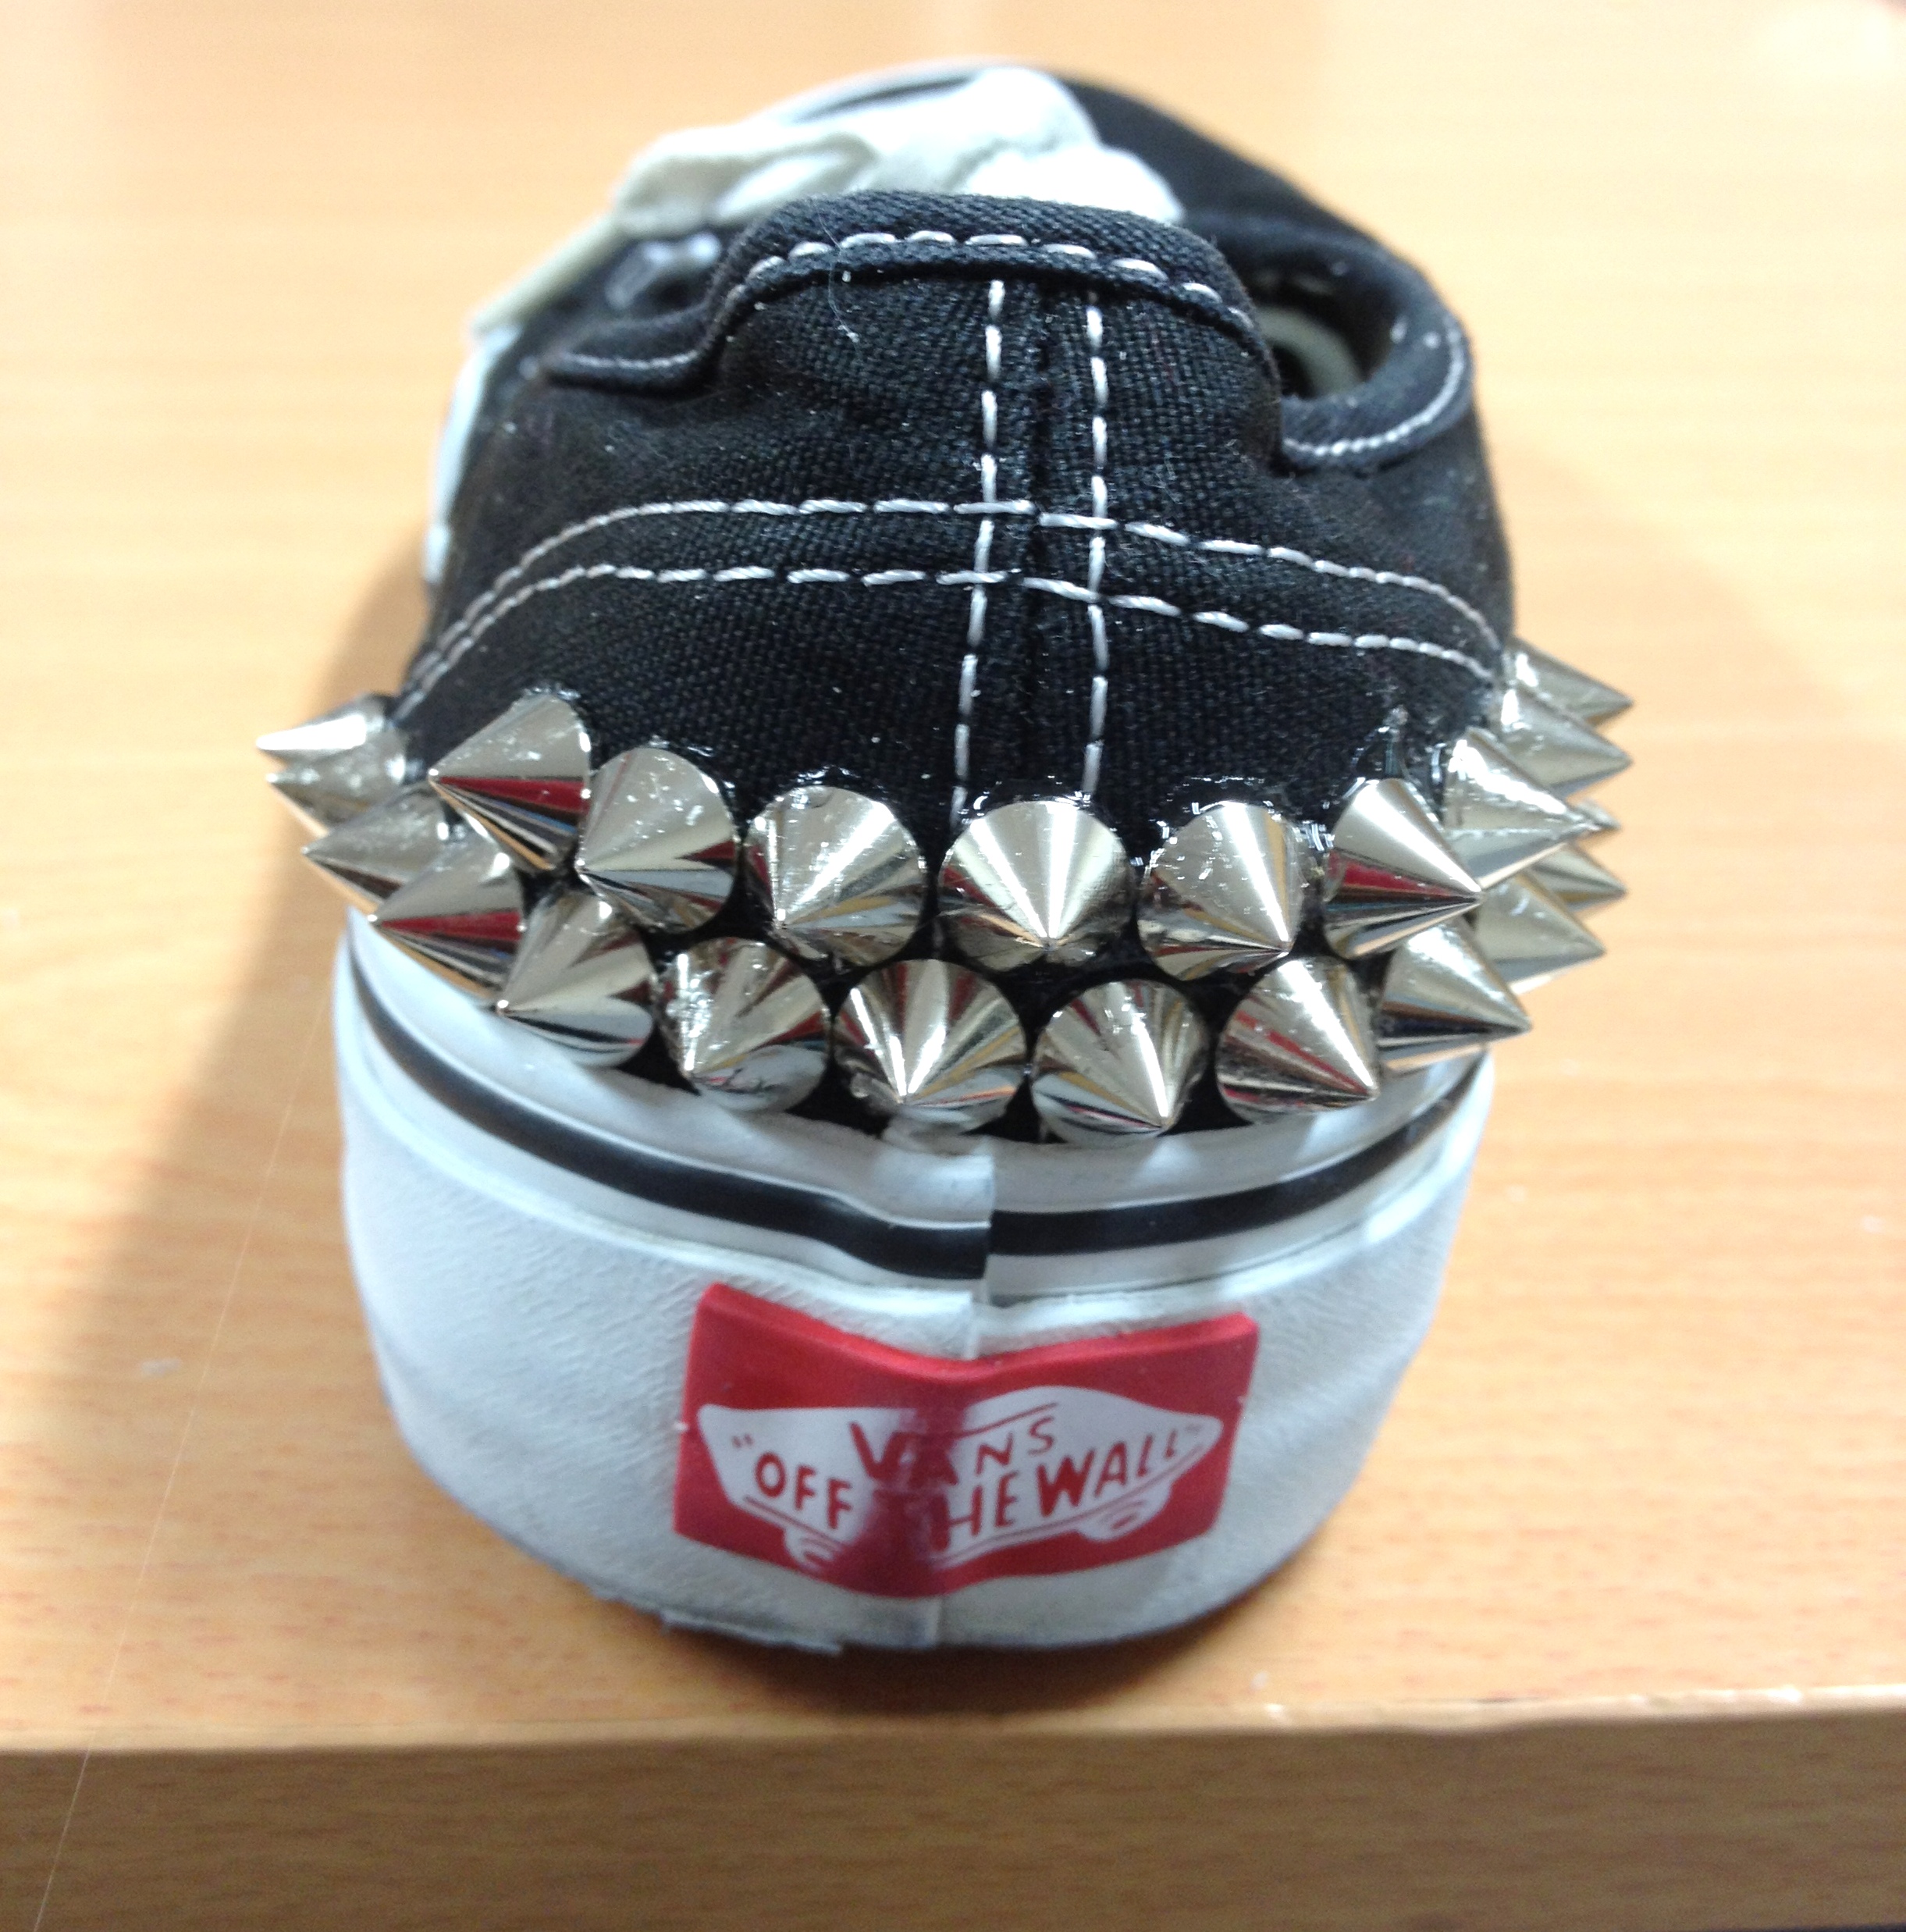
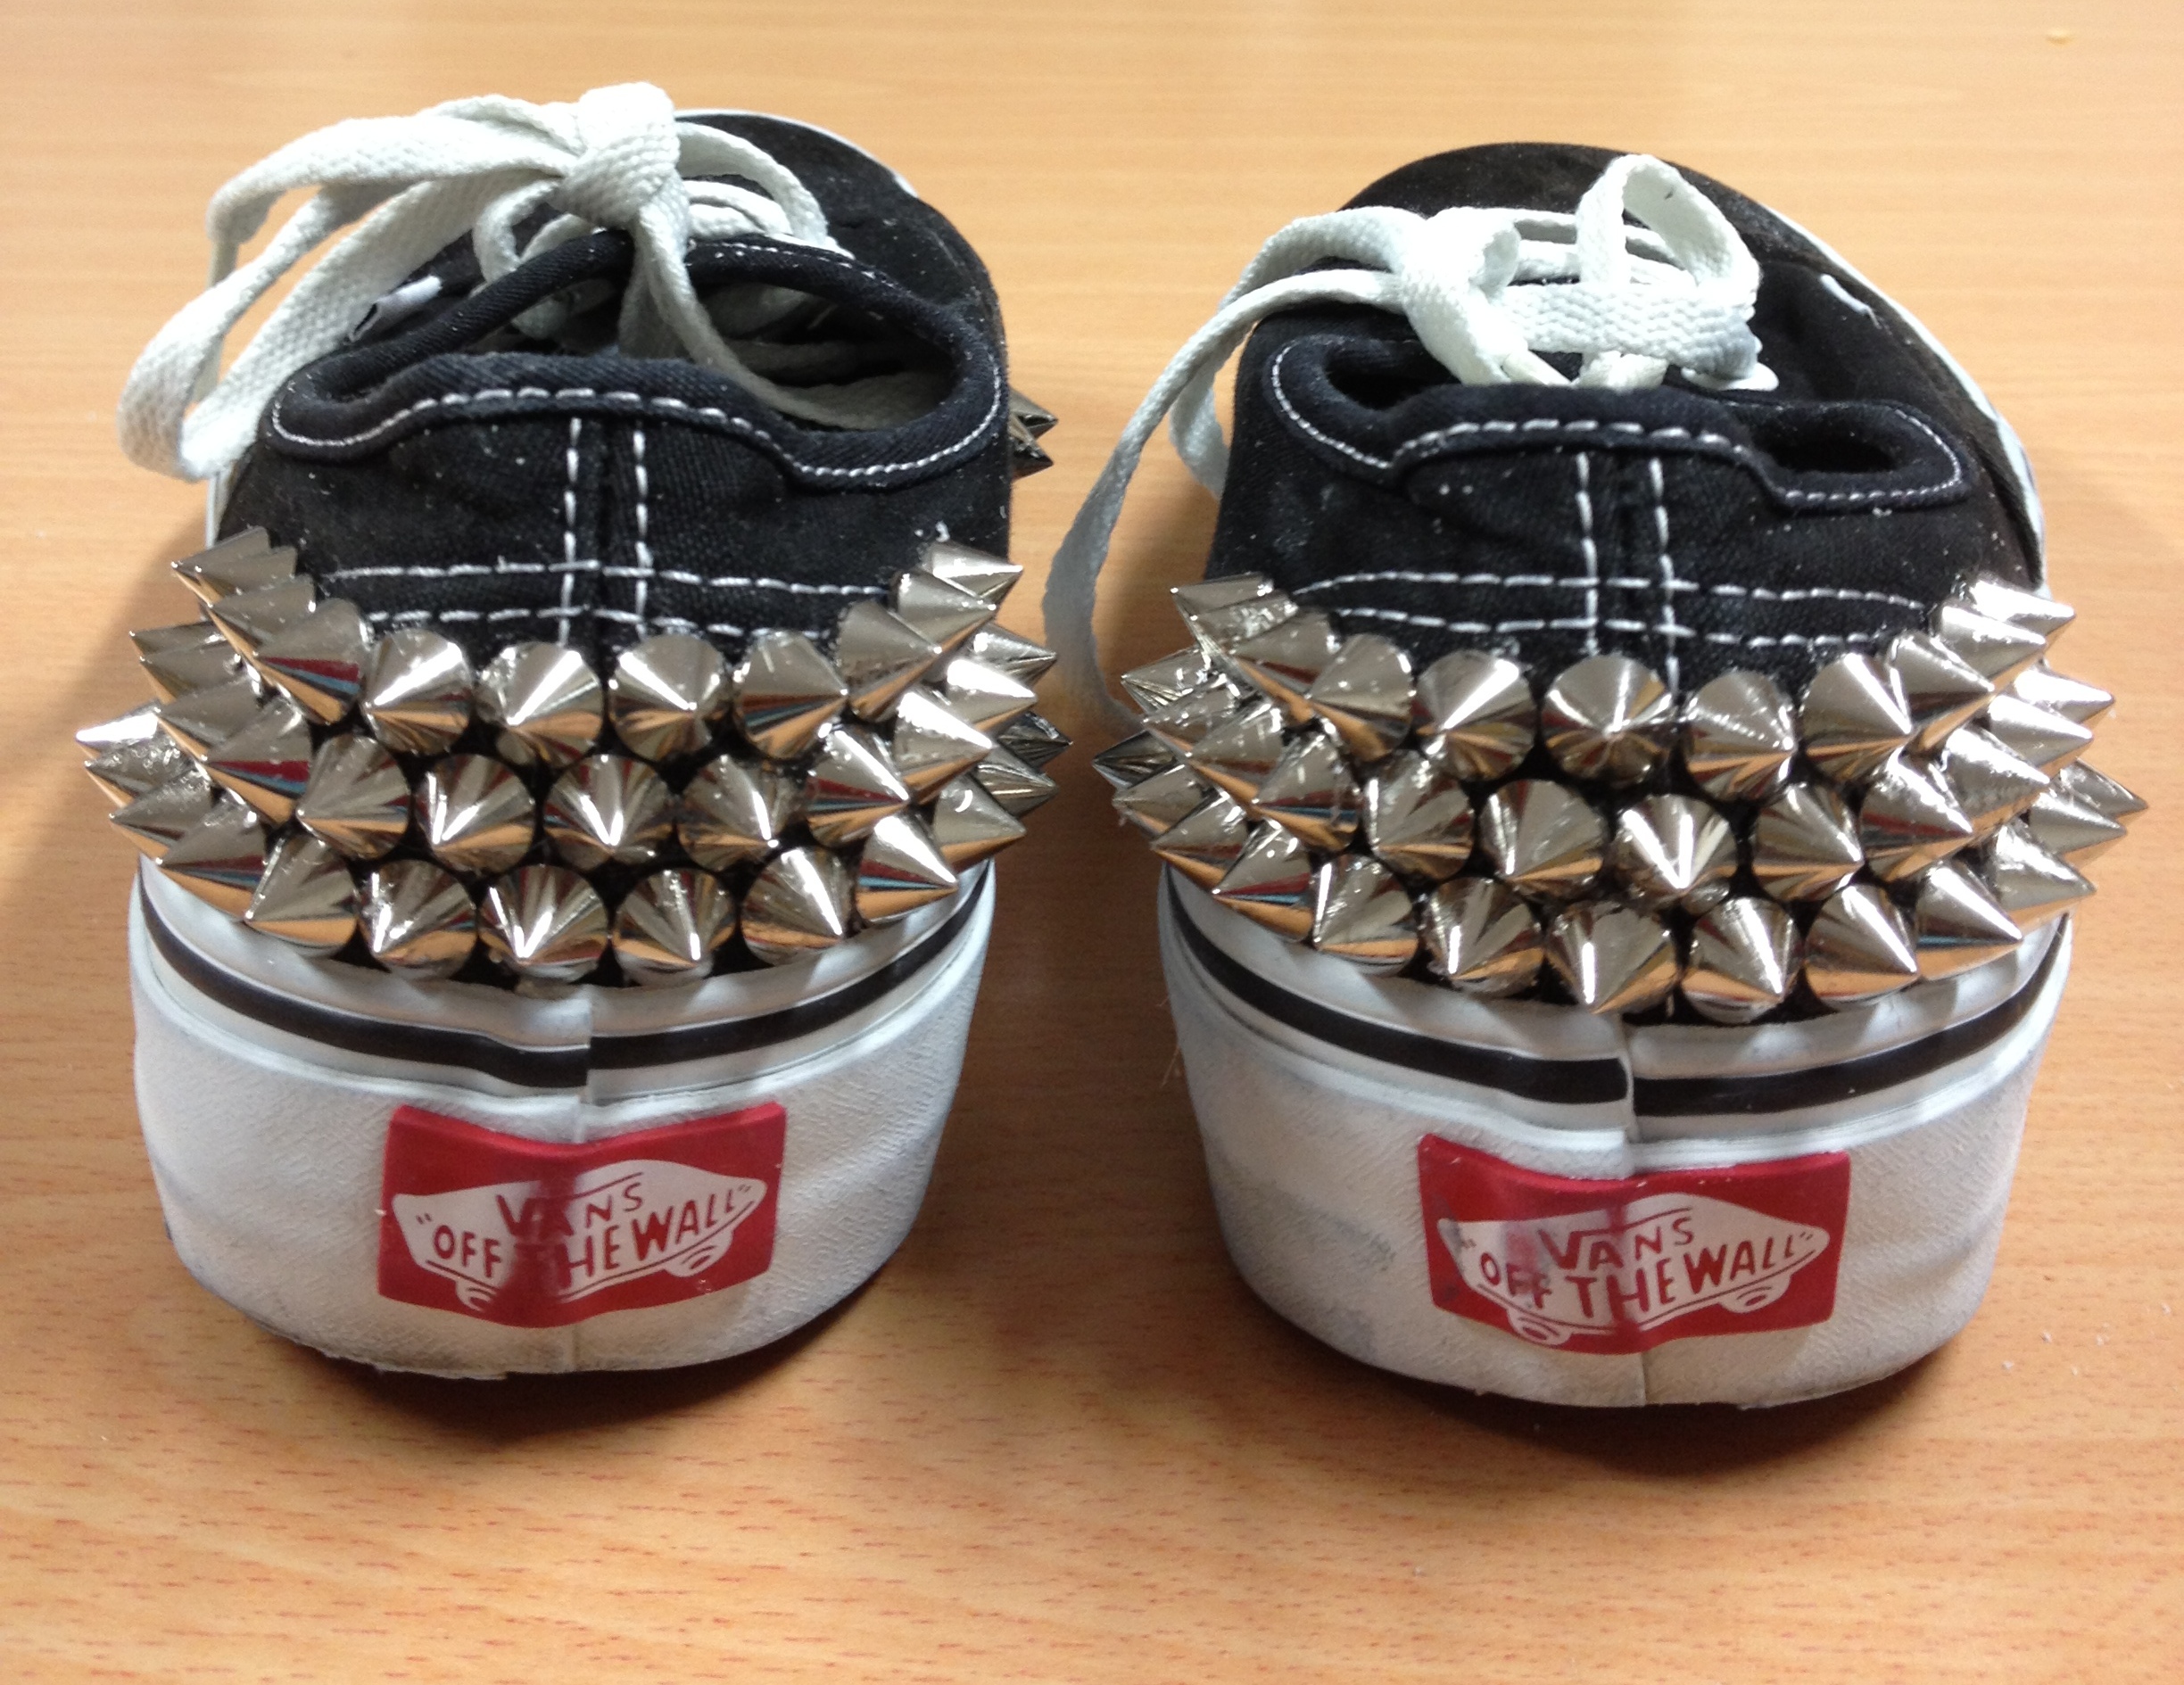
The heel cap was easy to stud because the canvas on the part of the shoe was hard and steady. It's a little bit messier than it should be- my lack of hand sturdiness and general skill.

Voila, both heel caps done.
On to the main body of the shoe.

This is where you start to observe my lack of artsy skills, it gets even messier. Oh yes I also have the excuse about the canvas being too soft.
Continue to glue the spikes into place and fill in any bare spaces.

I ran out of studs along the way and the right foot suffered this misfortune- the left side of the right foot does not have a second line of studs and is missing a stud right in the middle of the front. Worry not, I have ordered more studs off eBay but this did not stop me wearing the shoes today as it is not that noticeable from a distance.
Leave the sneakers to dry for 24-72 hours. If you're a keen bean, at least overnight.
Enter my most fashionable weapons studded vans.

DIY Studded Vans

Studded Vans

Get your vans here and give it a go.
You'll probably do a much neater job than I did. Go on and show off by @'ing me on Twitter or Instagram.
All pictures shot with my loyal iphone because evil prevailed last weekend and a b*tch stole my camera. I'm working on getting a new one ASAP and I still have an outfit post to put up from last weekend before tragedy struck. Plus I've been following the NY Fashion Week happenings and with a month of fashion weeks ahead, I will have a bit to share with you.
Love,
Fis
September 8, 2012

Shop Mirror Me Wishlist

Hey guys! I hope you’re all good and enjoying the very last bits of summer/beginning of fall. I’m excited to have a new page on the blog where you can view and shop my favourite picks and ever-growing wishlist. The plan is to update this regularly so that you have a constant insight into what […]

Hey guys!

I hope you're all good and enjoying the very last bits of summer/beginning of fall.

I'm excited to have a new page on the blog where you can view and shop my favourite picks and ever-growing wishlist. The plan is to update this regularly so that you have a constant insight into what I think are the hottest items on websites I frequently visit even though I might not have them to show you in my outfit posts.

You can find the page right at the top of the blog and it is called Shop Mirror Me Wishlist. Have a ball shopping items which I have, want, need or am simply dying for. Majority are most likely to be the latter, lol. I'm not trying to break your bank or anything, I promise :).

September 7, 2012

Wish Wish Wish

Valentino dreams…. Valentino Stud Detailed Pointed Pump

Valentino dreams....
Valentino Stud Detailed Pointed Pump

September 3, 2012

Haute Banter

I’ve never been a Snapback type of girl. I am just not naturally equipped with that dimension of swag, lol. Well except I was wearing it trekking on holiday to protect me from the sun or something, not as a fashion accessory. But when my friend Juny, a new designer based in London came out […]

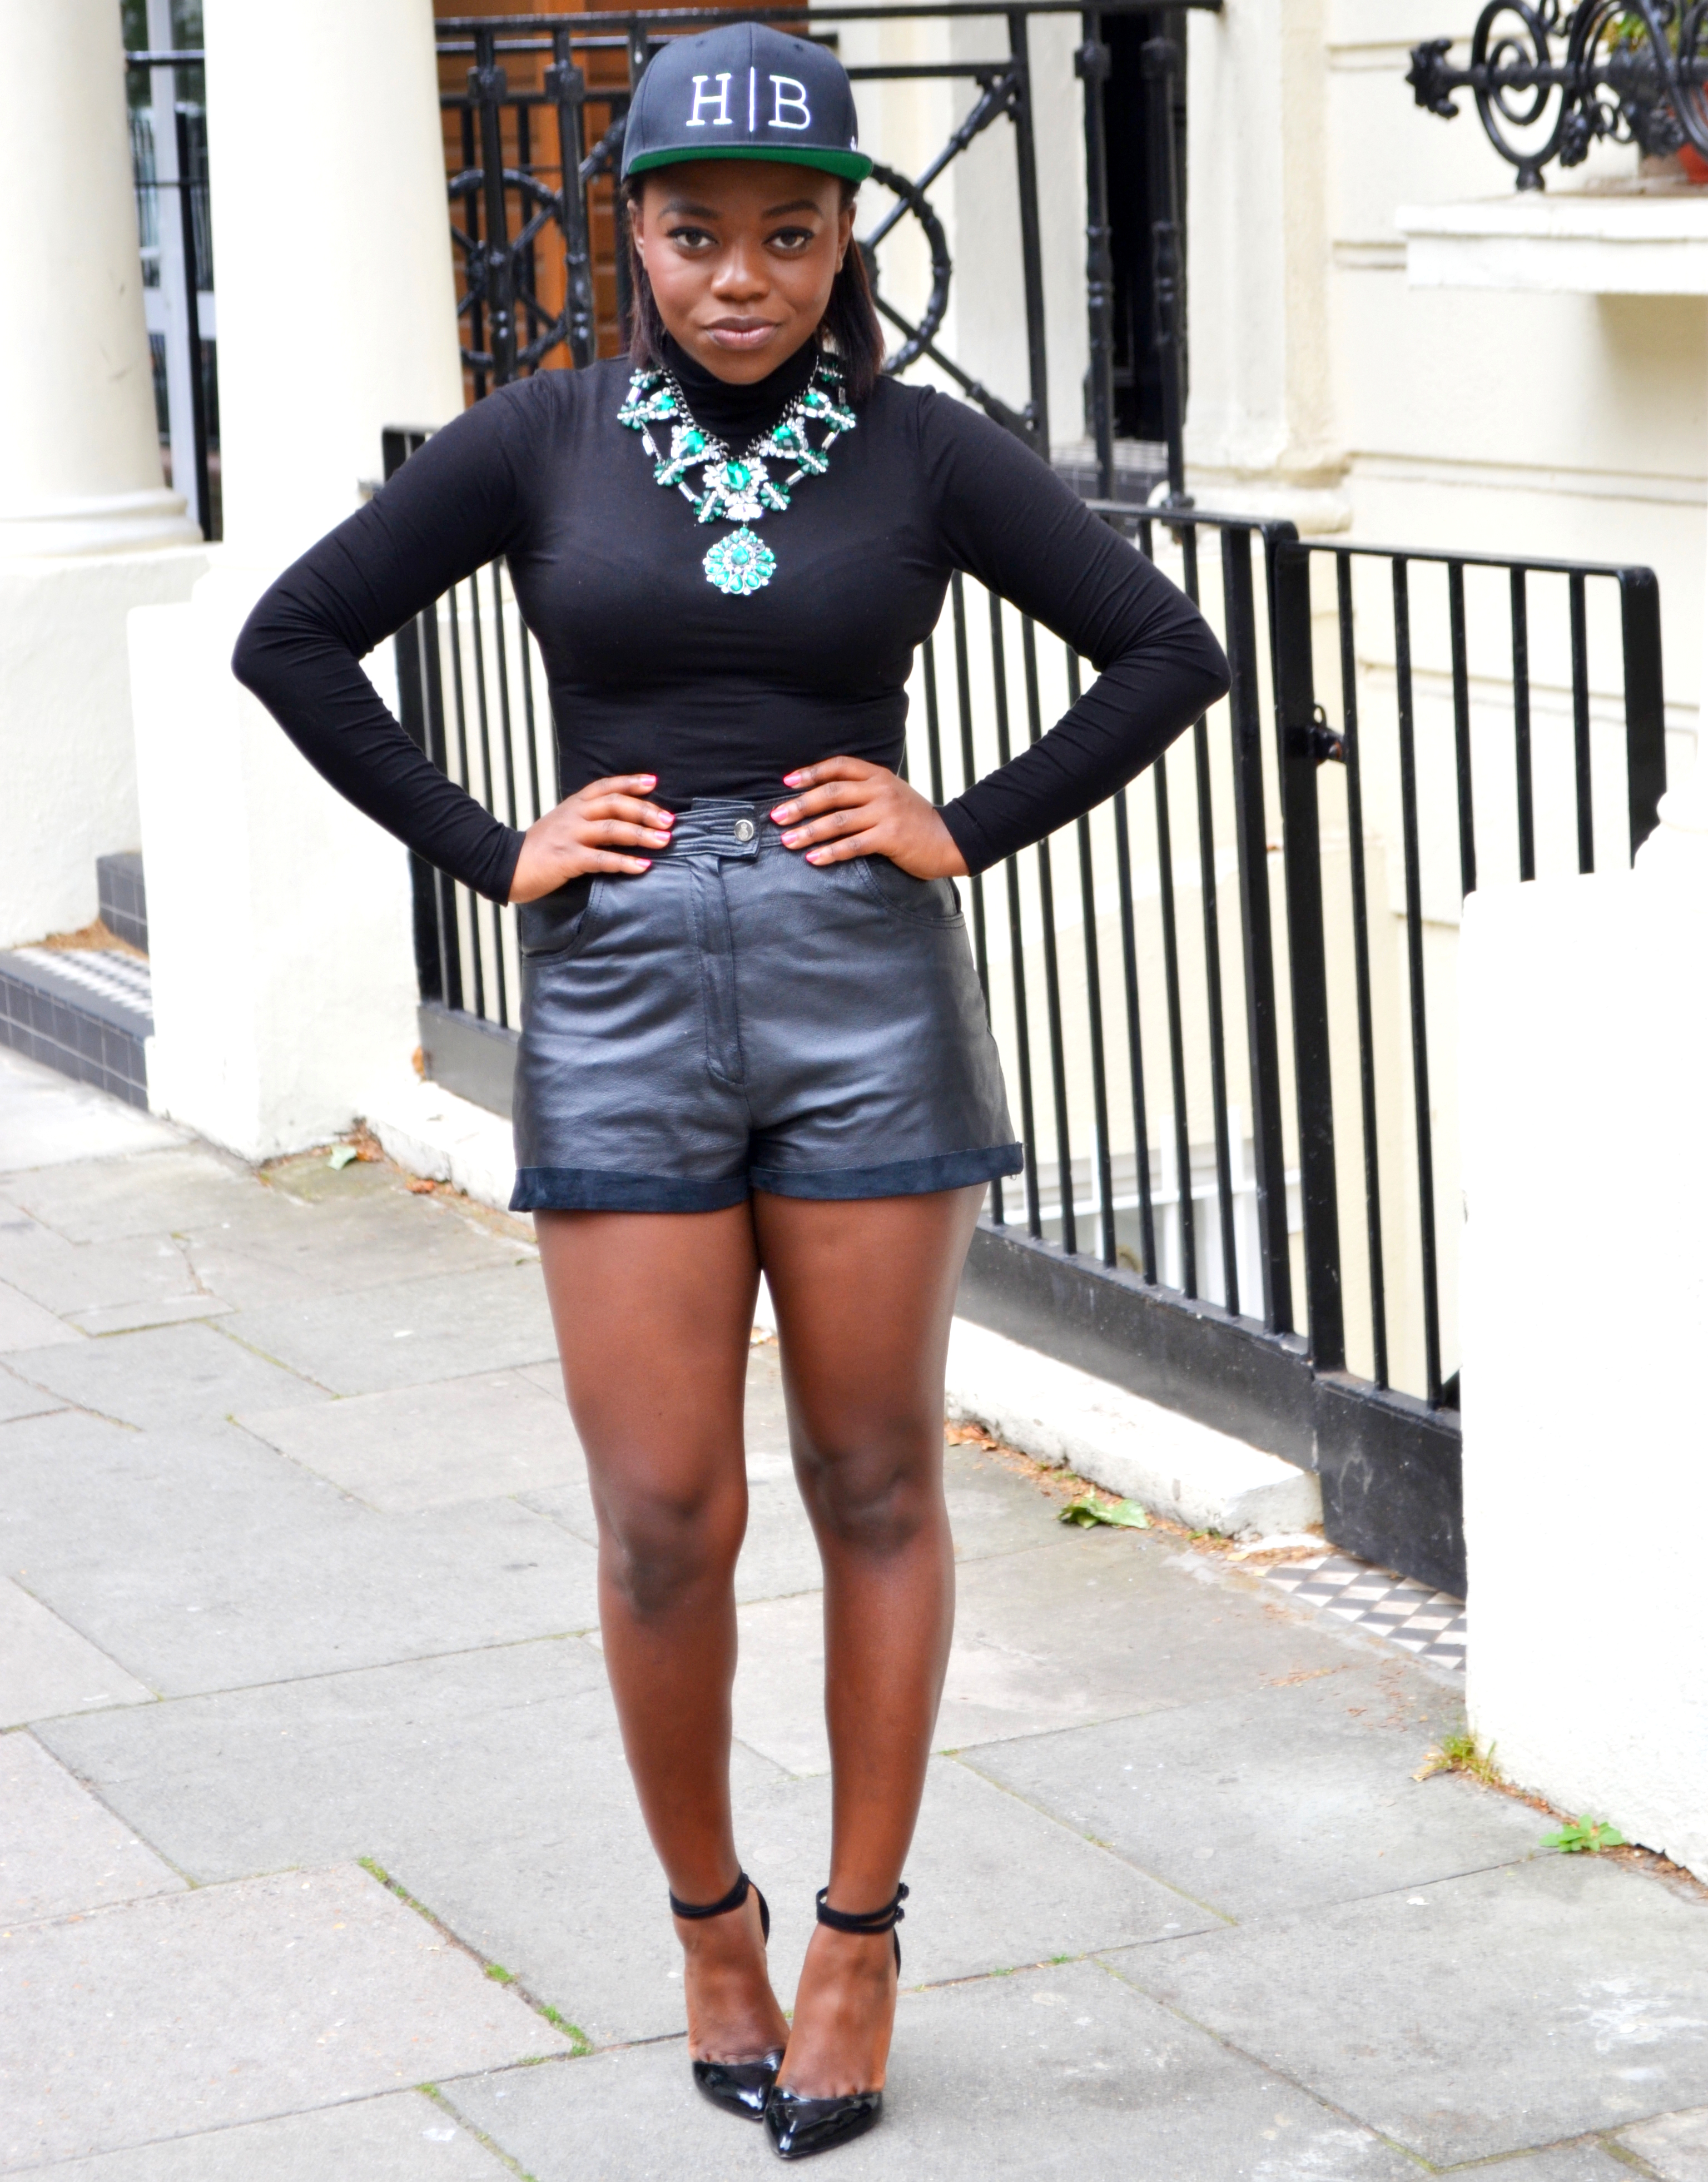
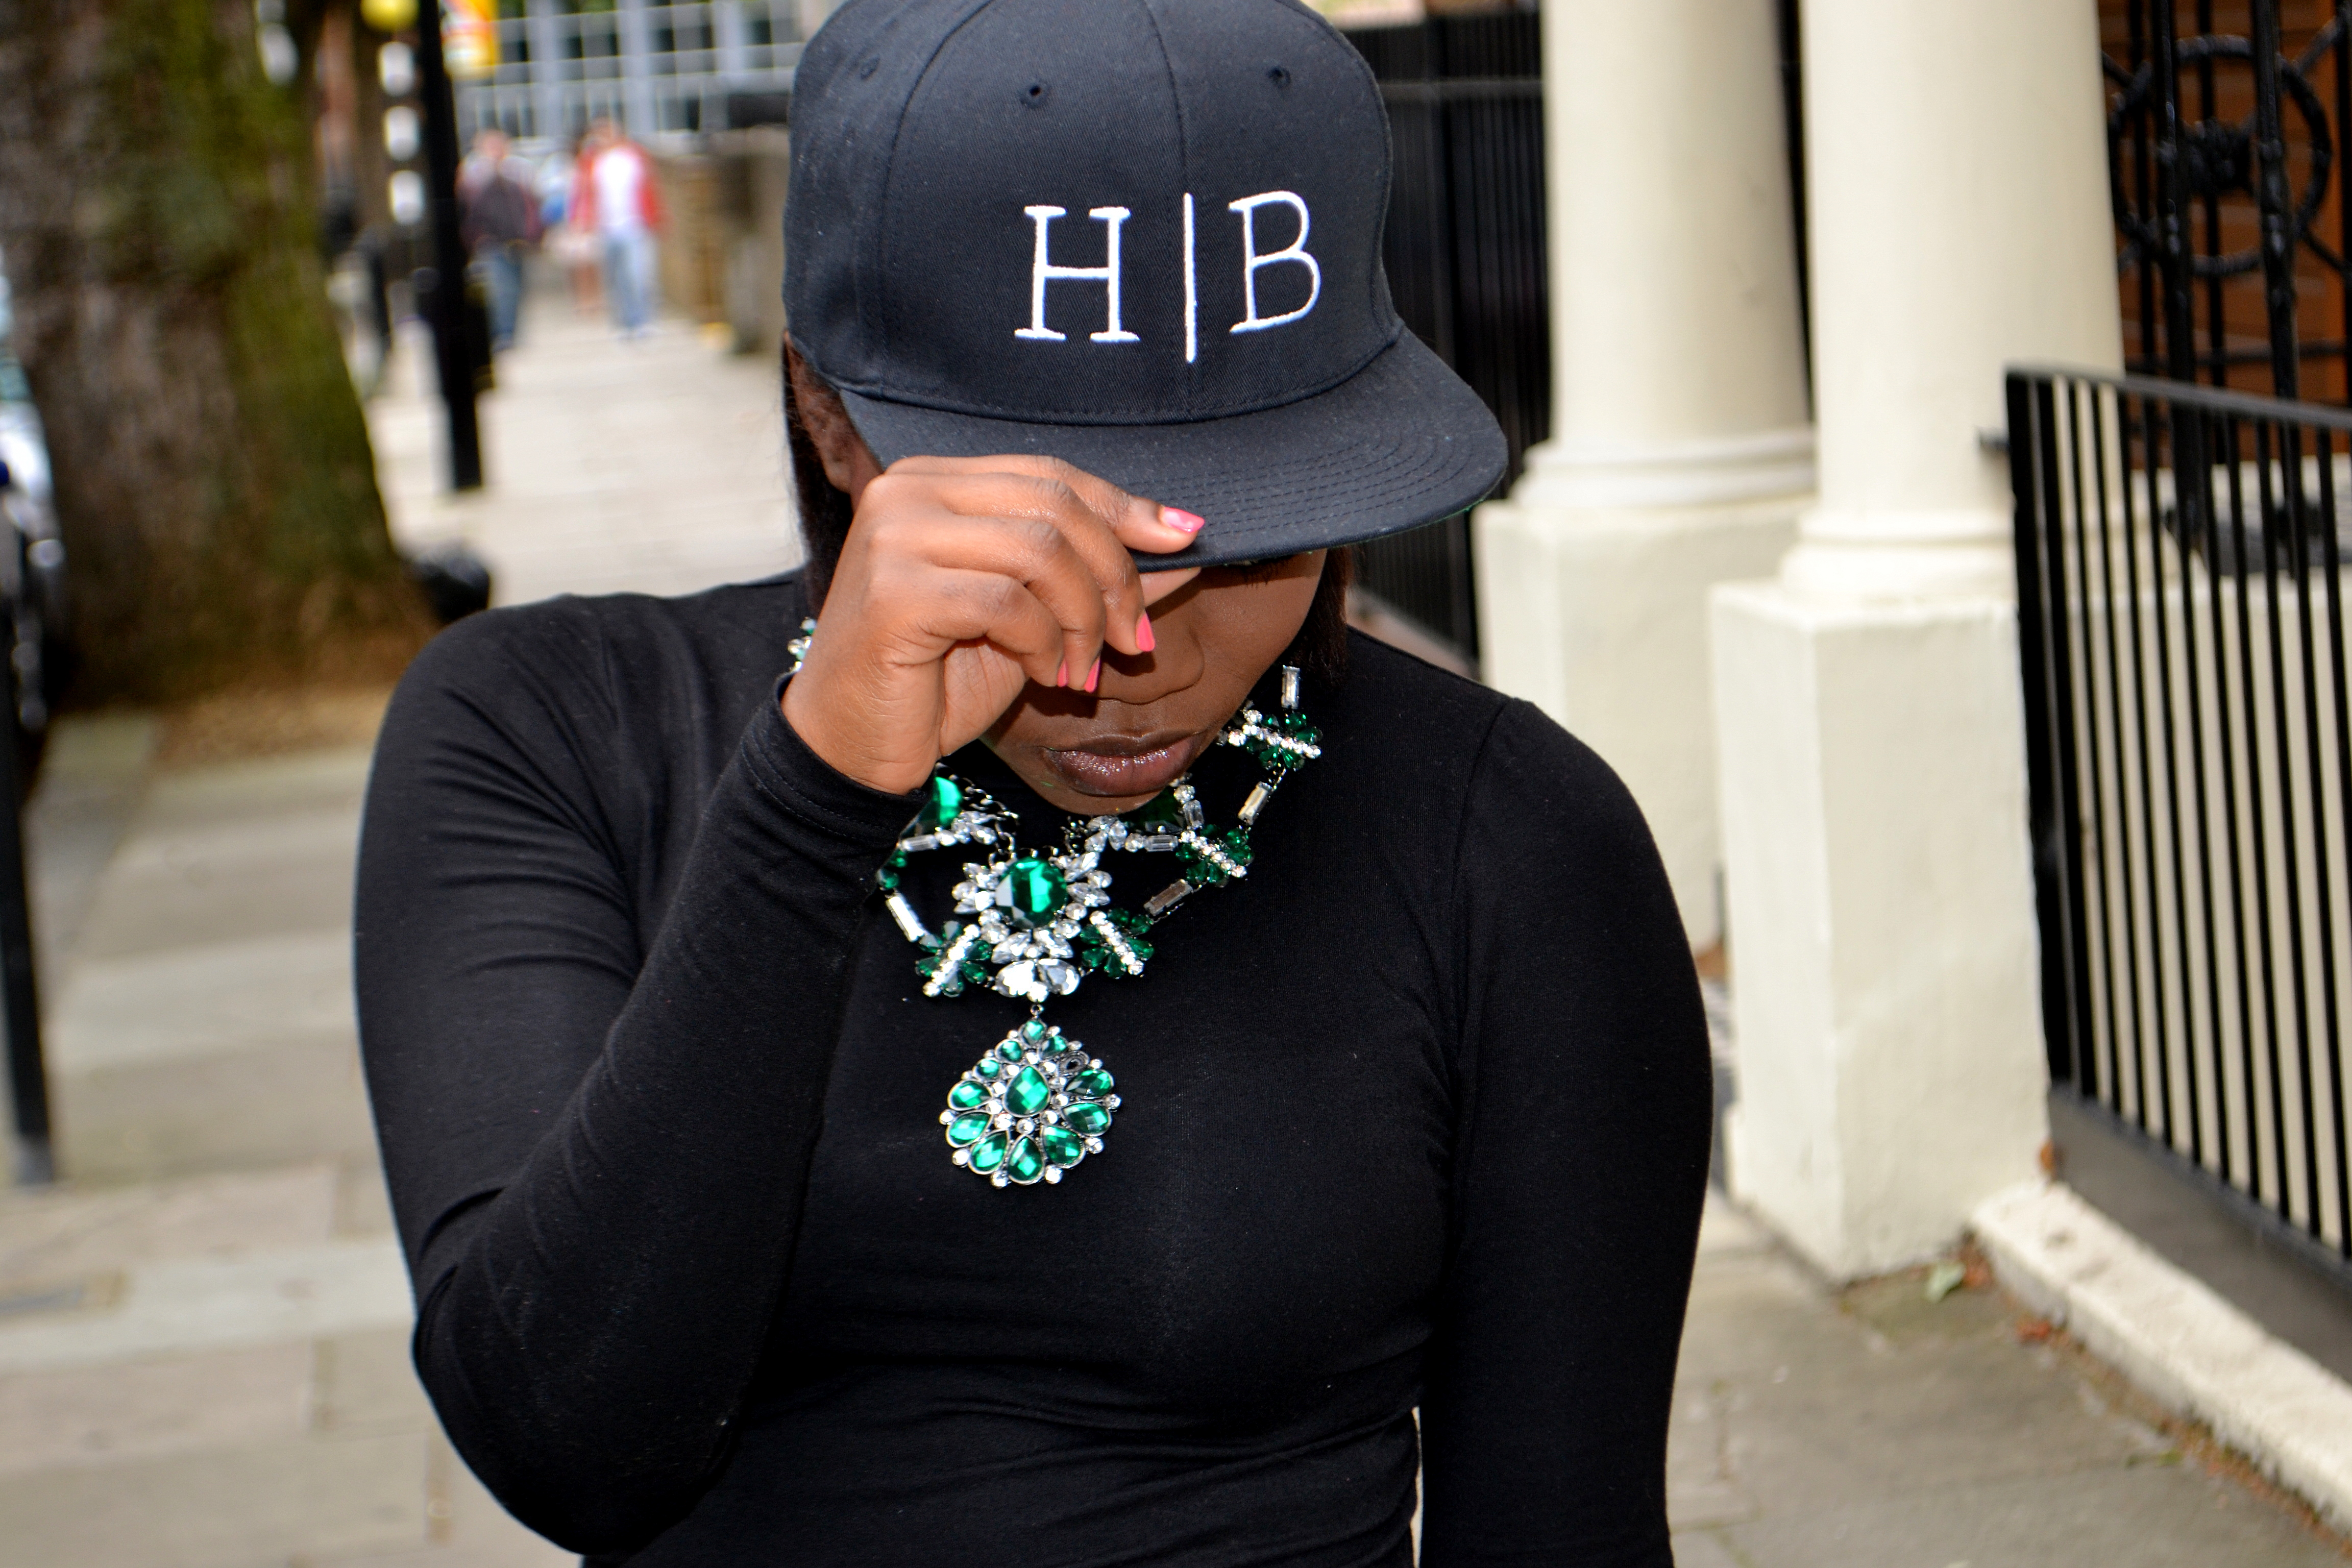
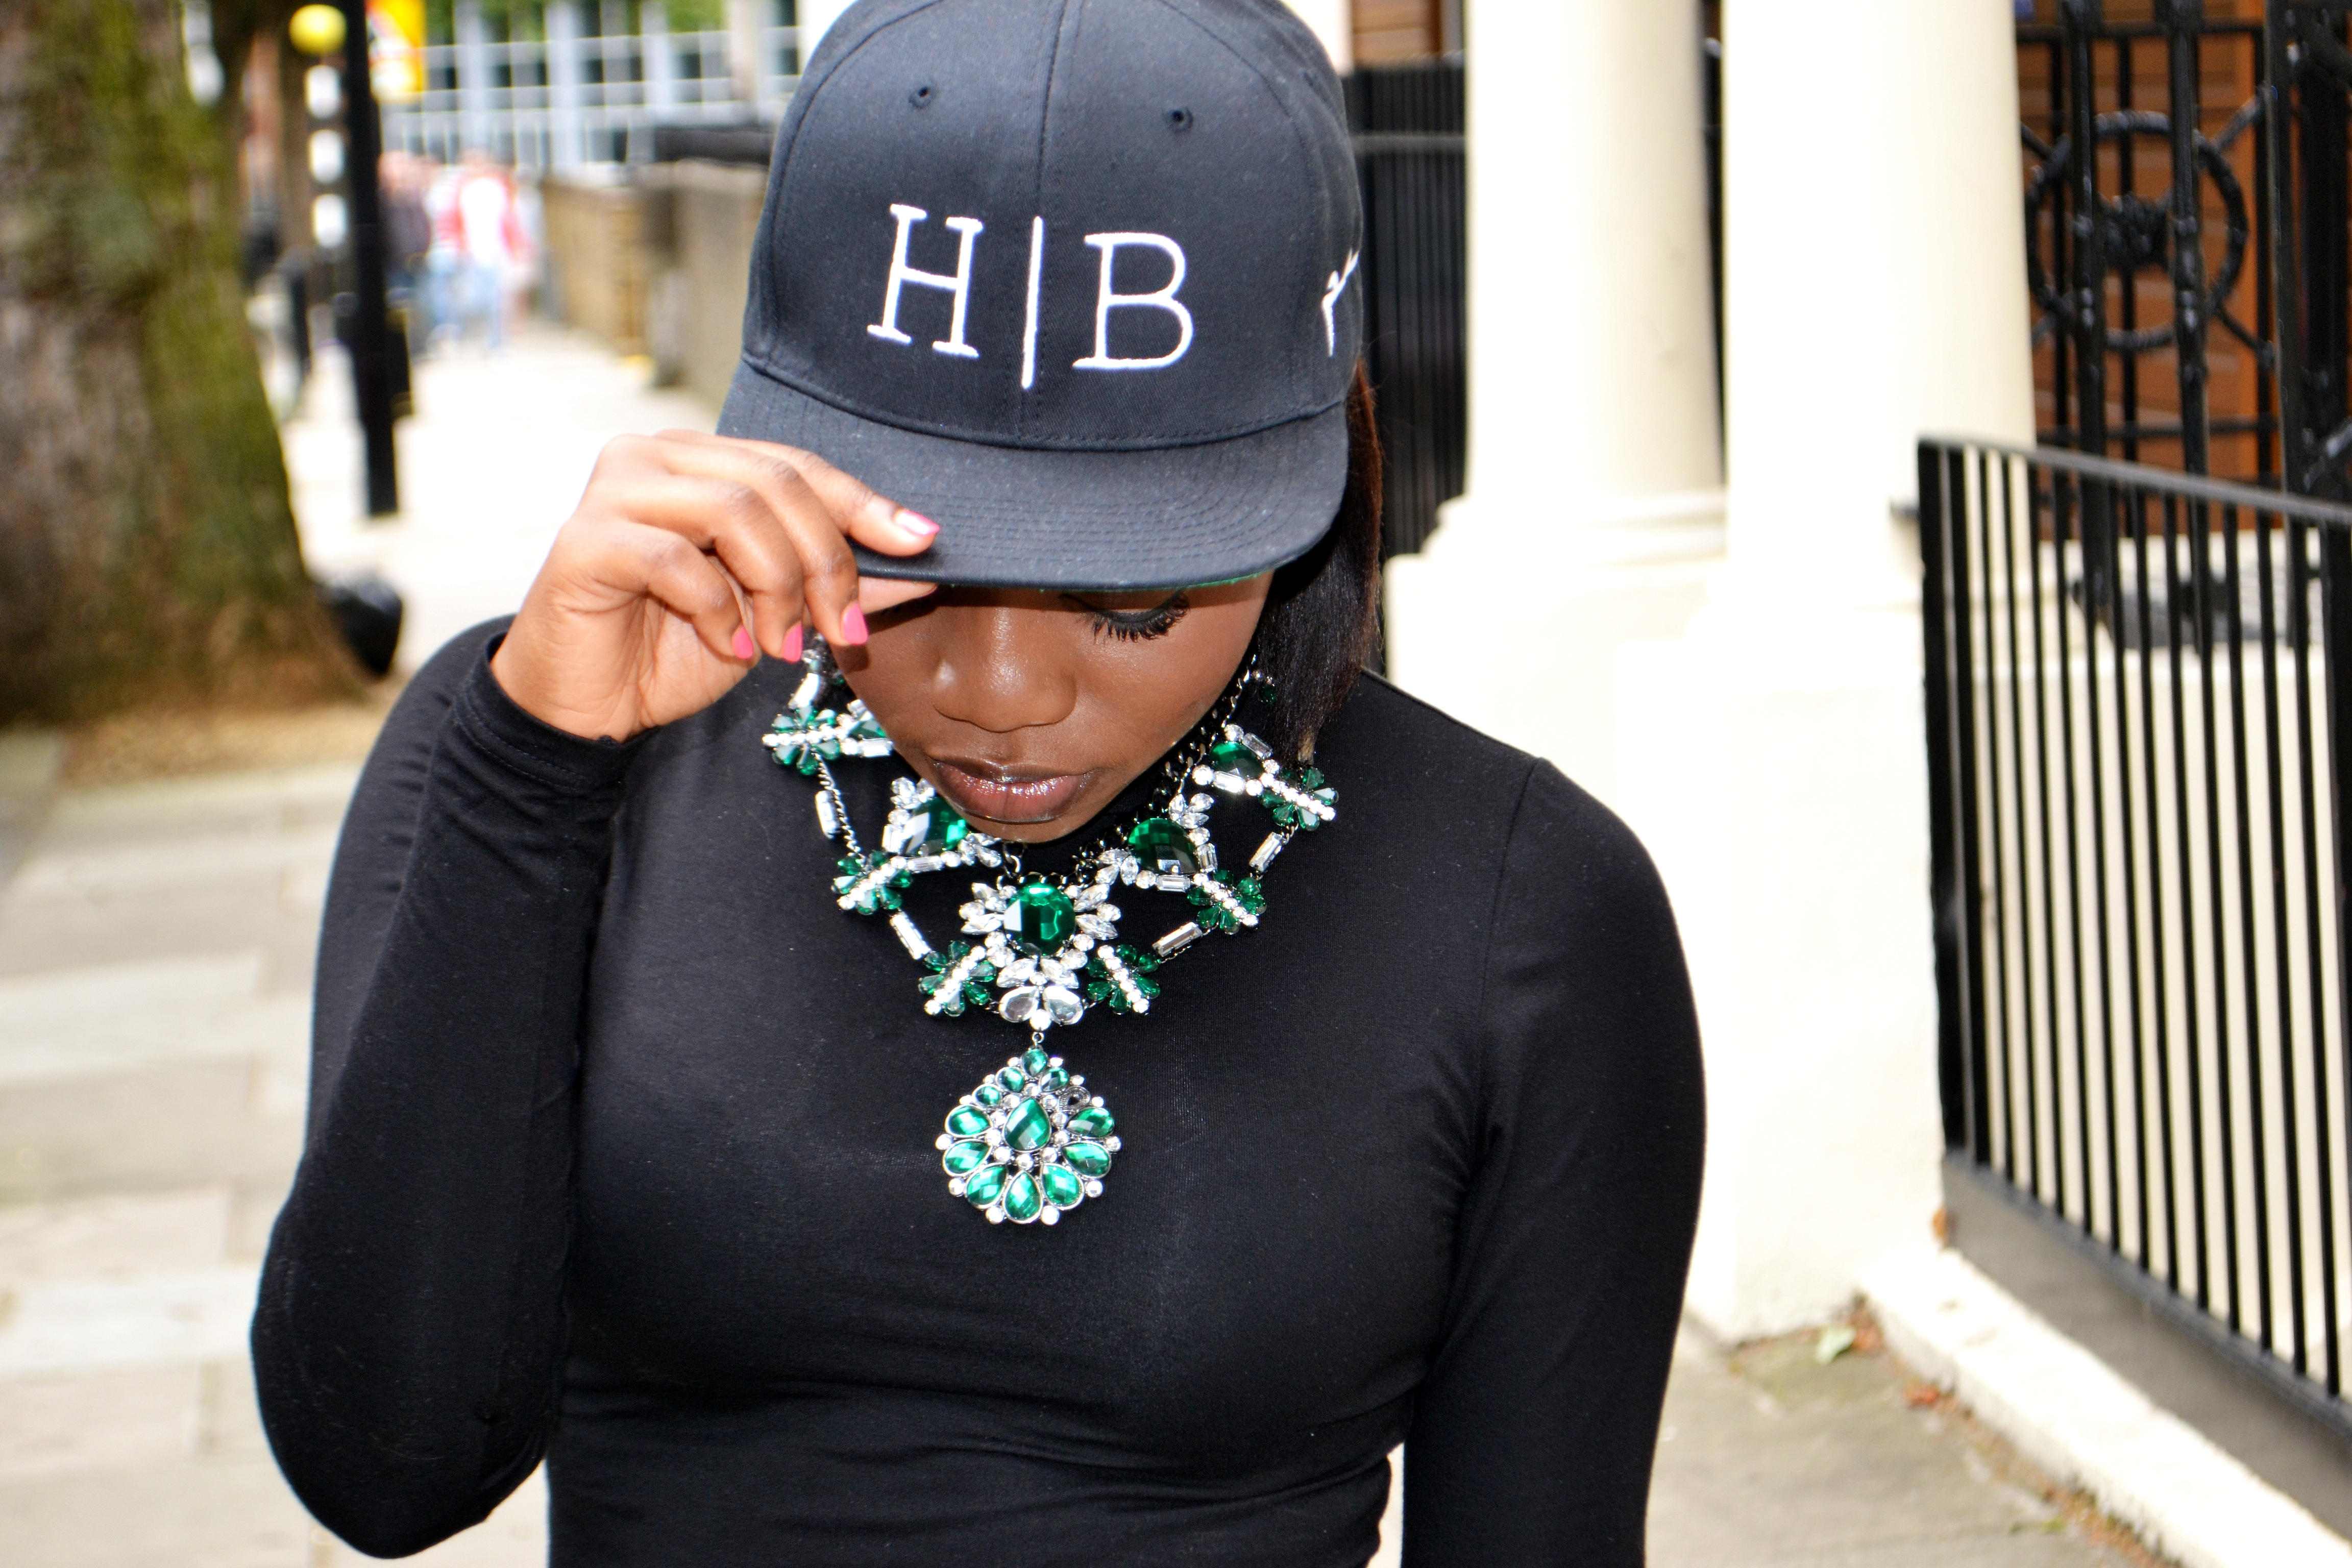
I've never been a Snapback type of girl. I am just not naturally equipped with that dimension of swag, lol. Well except I was wearing it trekking on holiday to protect me from the sun or something, not as a fashion accessory.

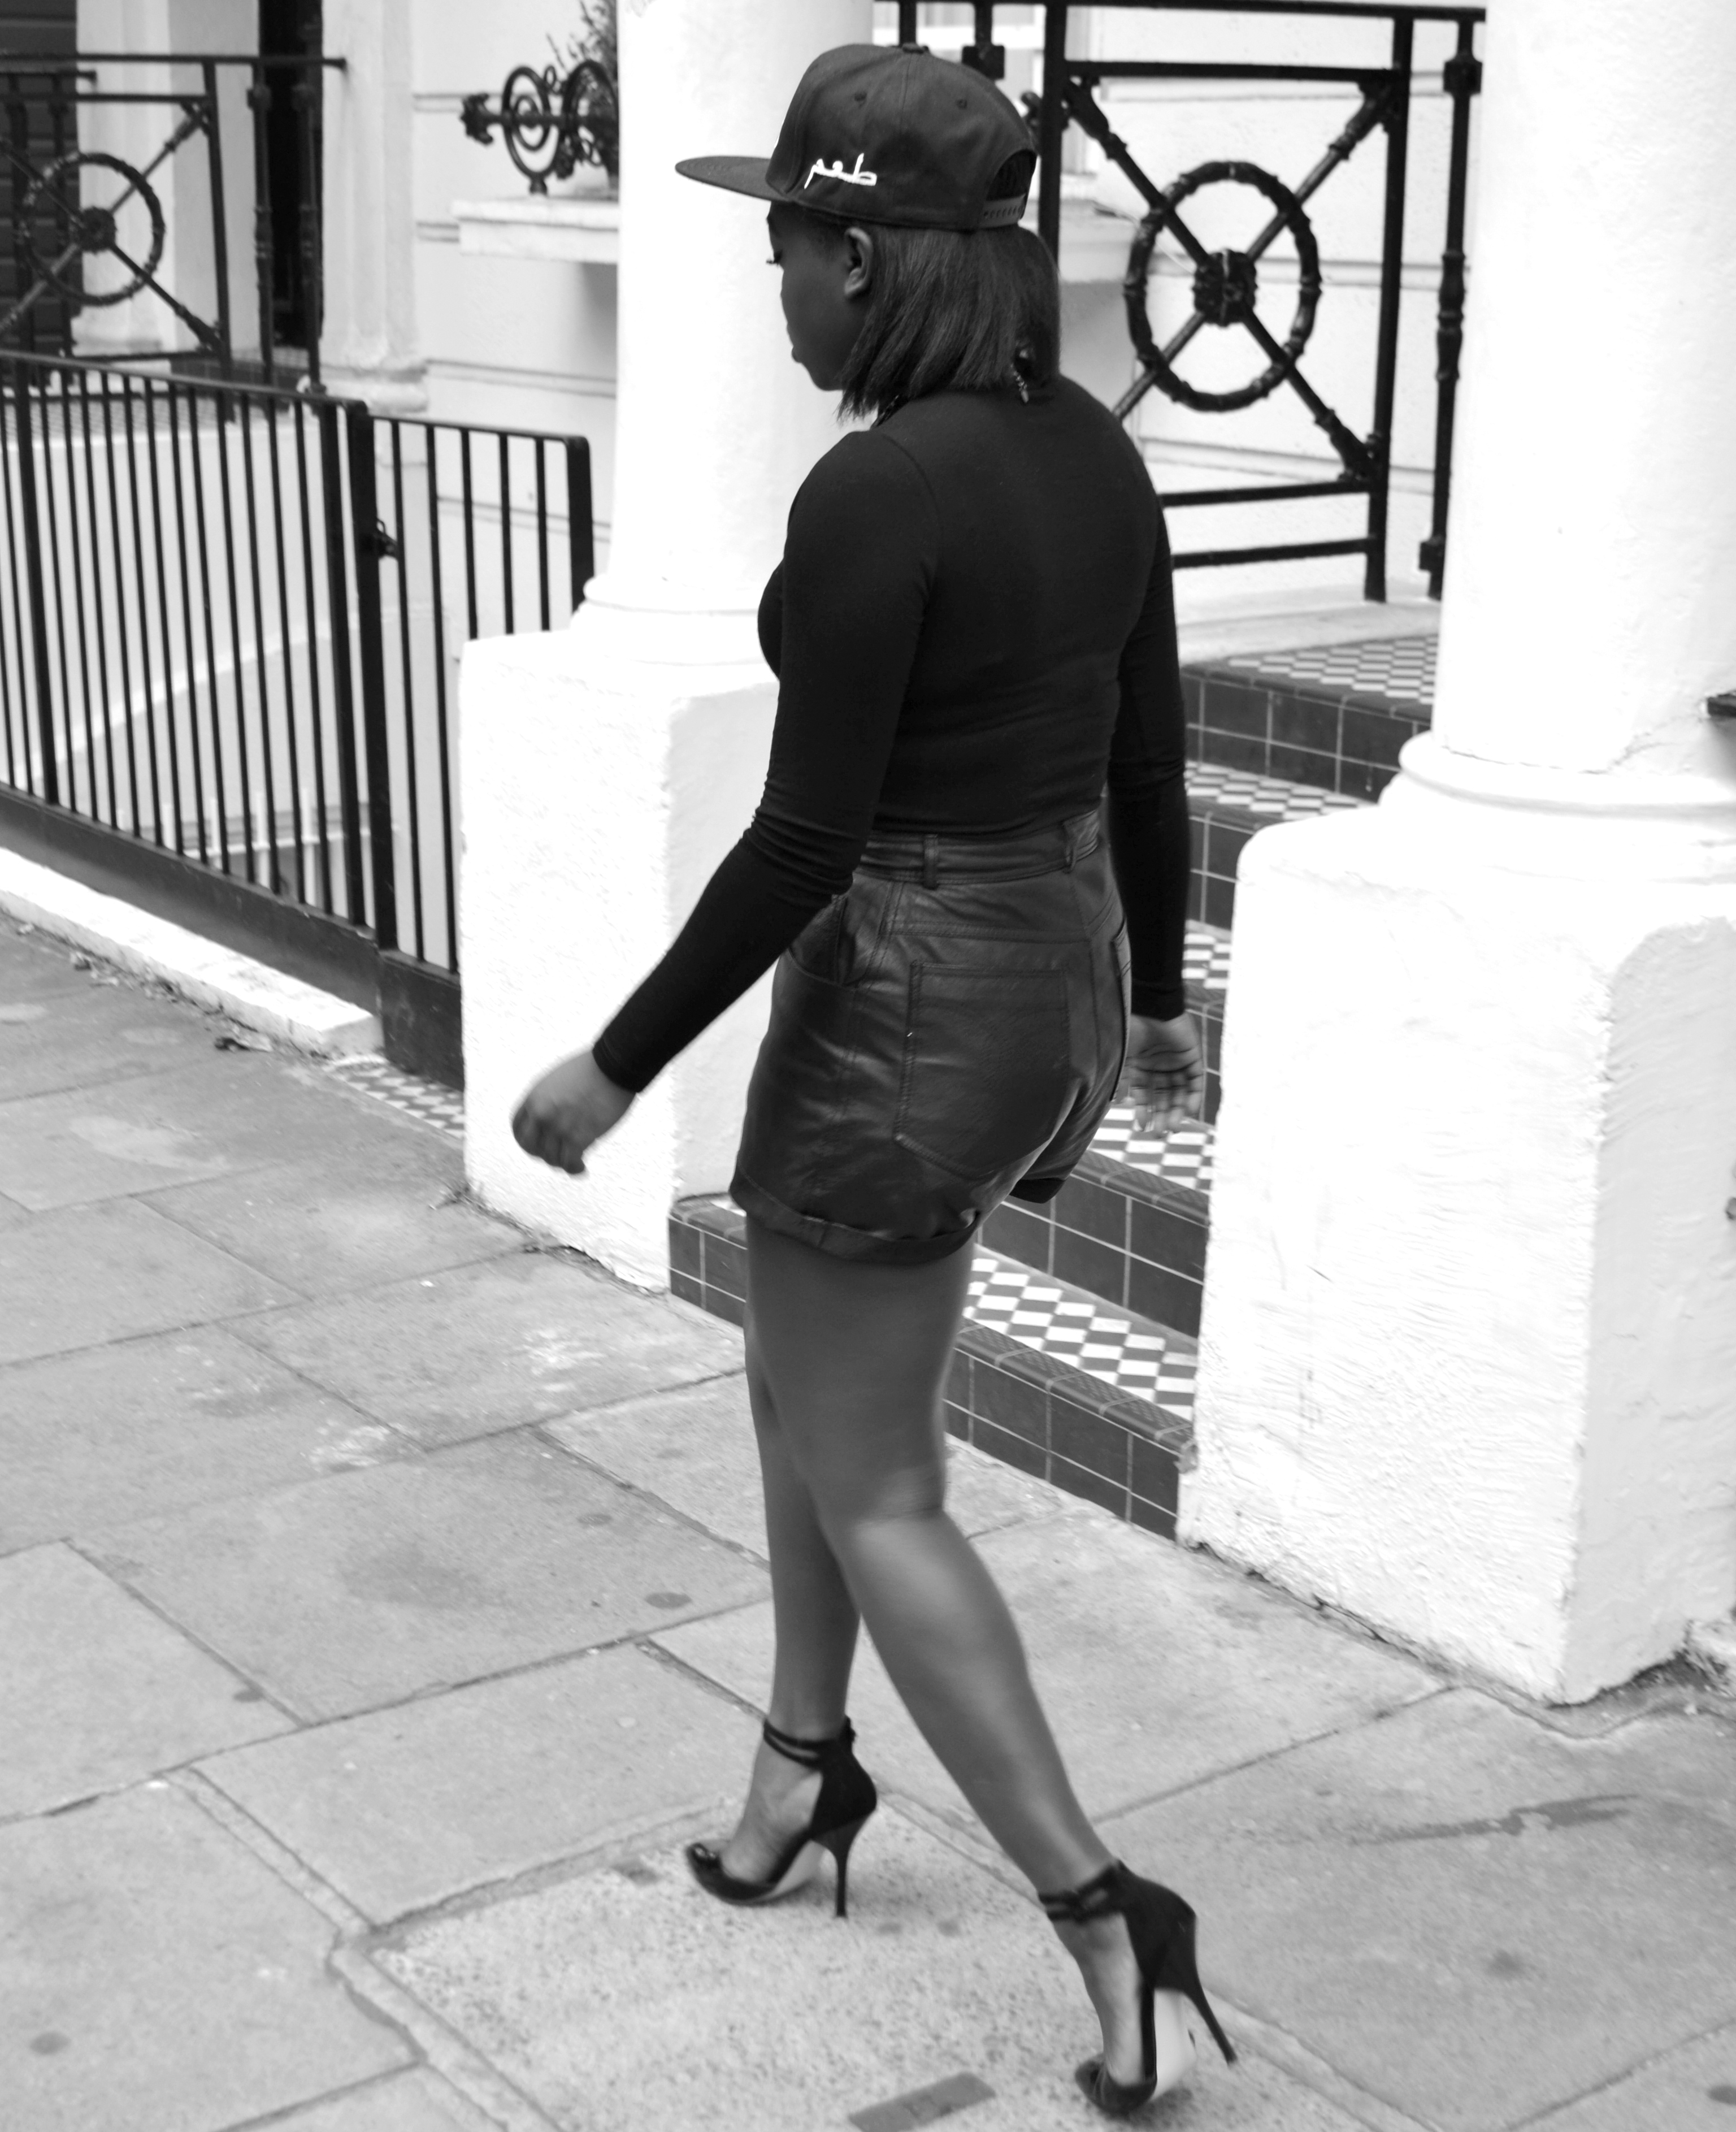
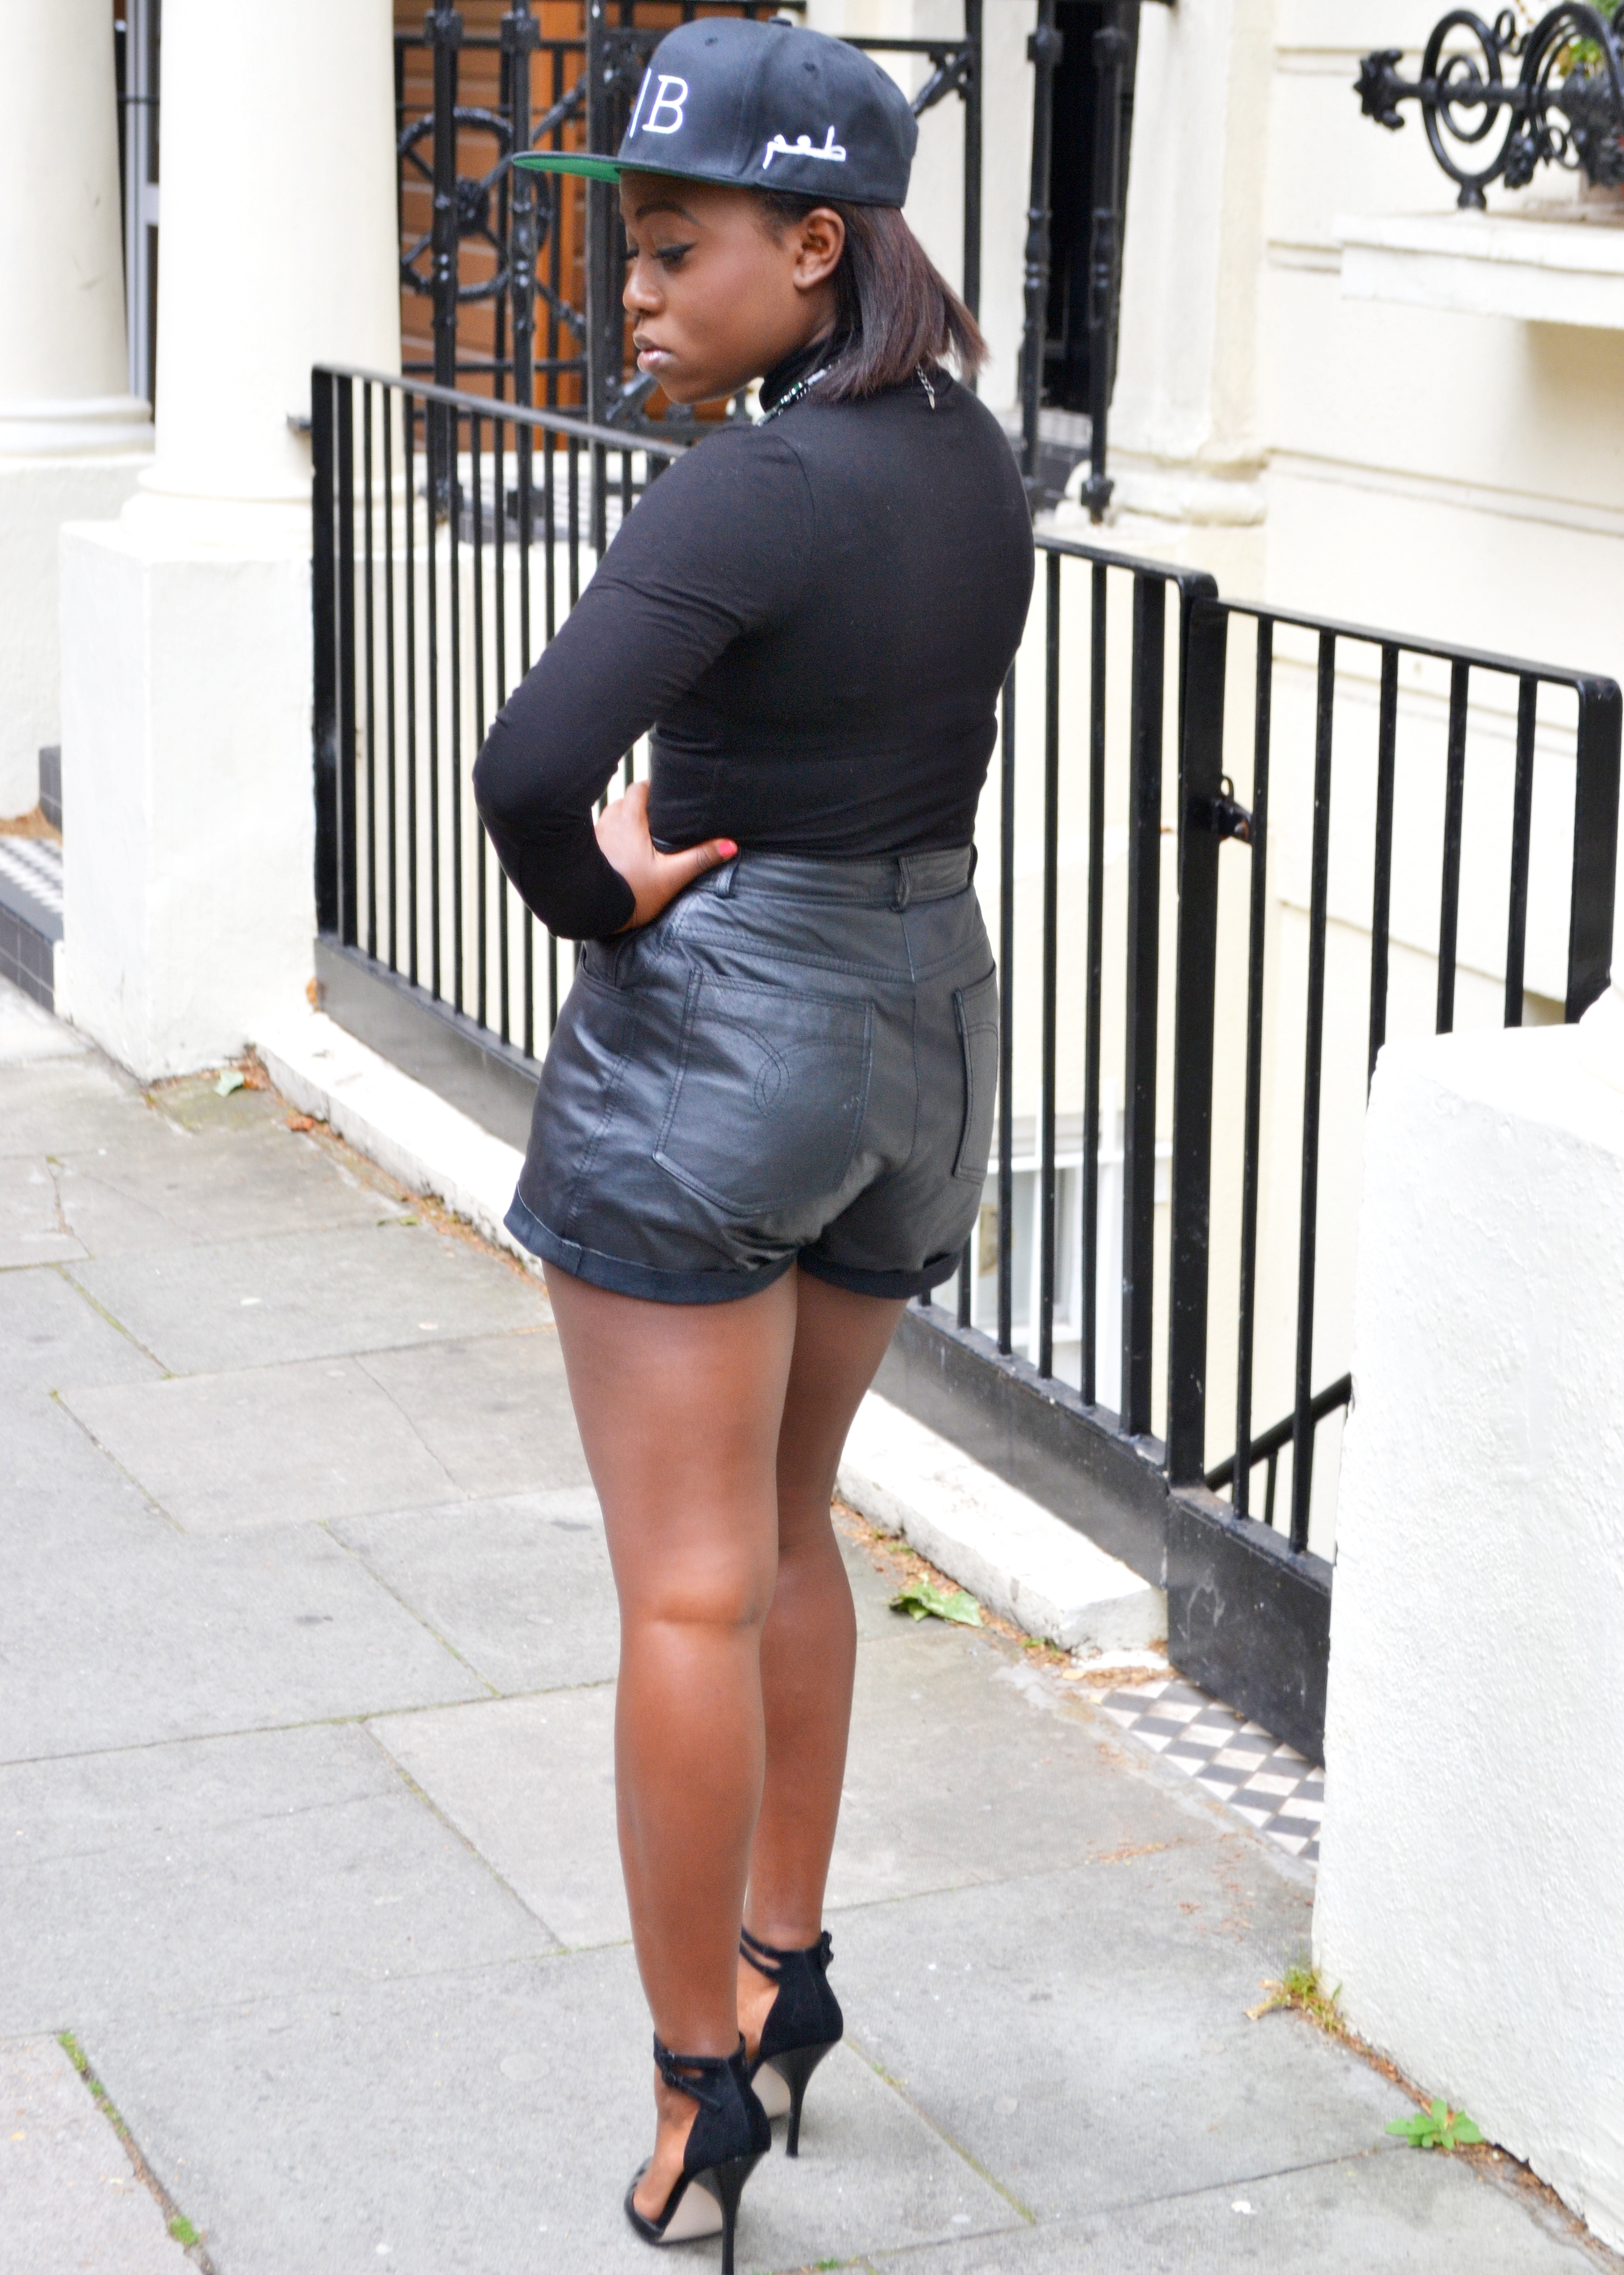
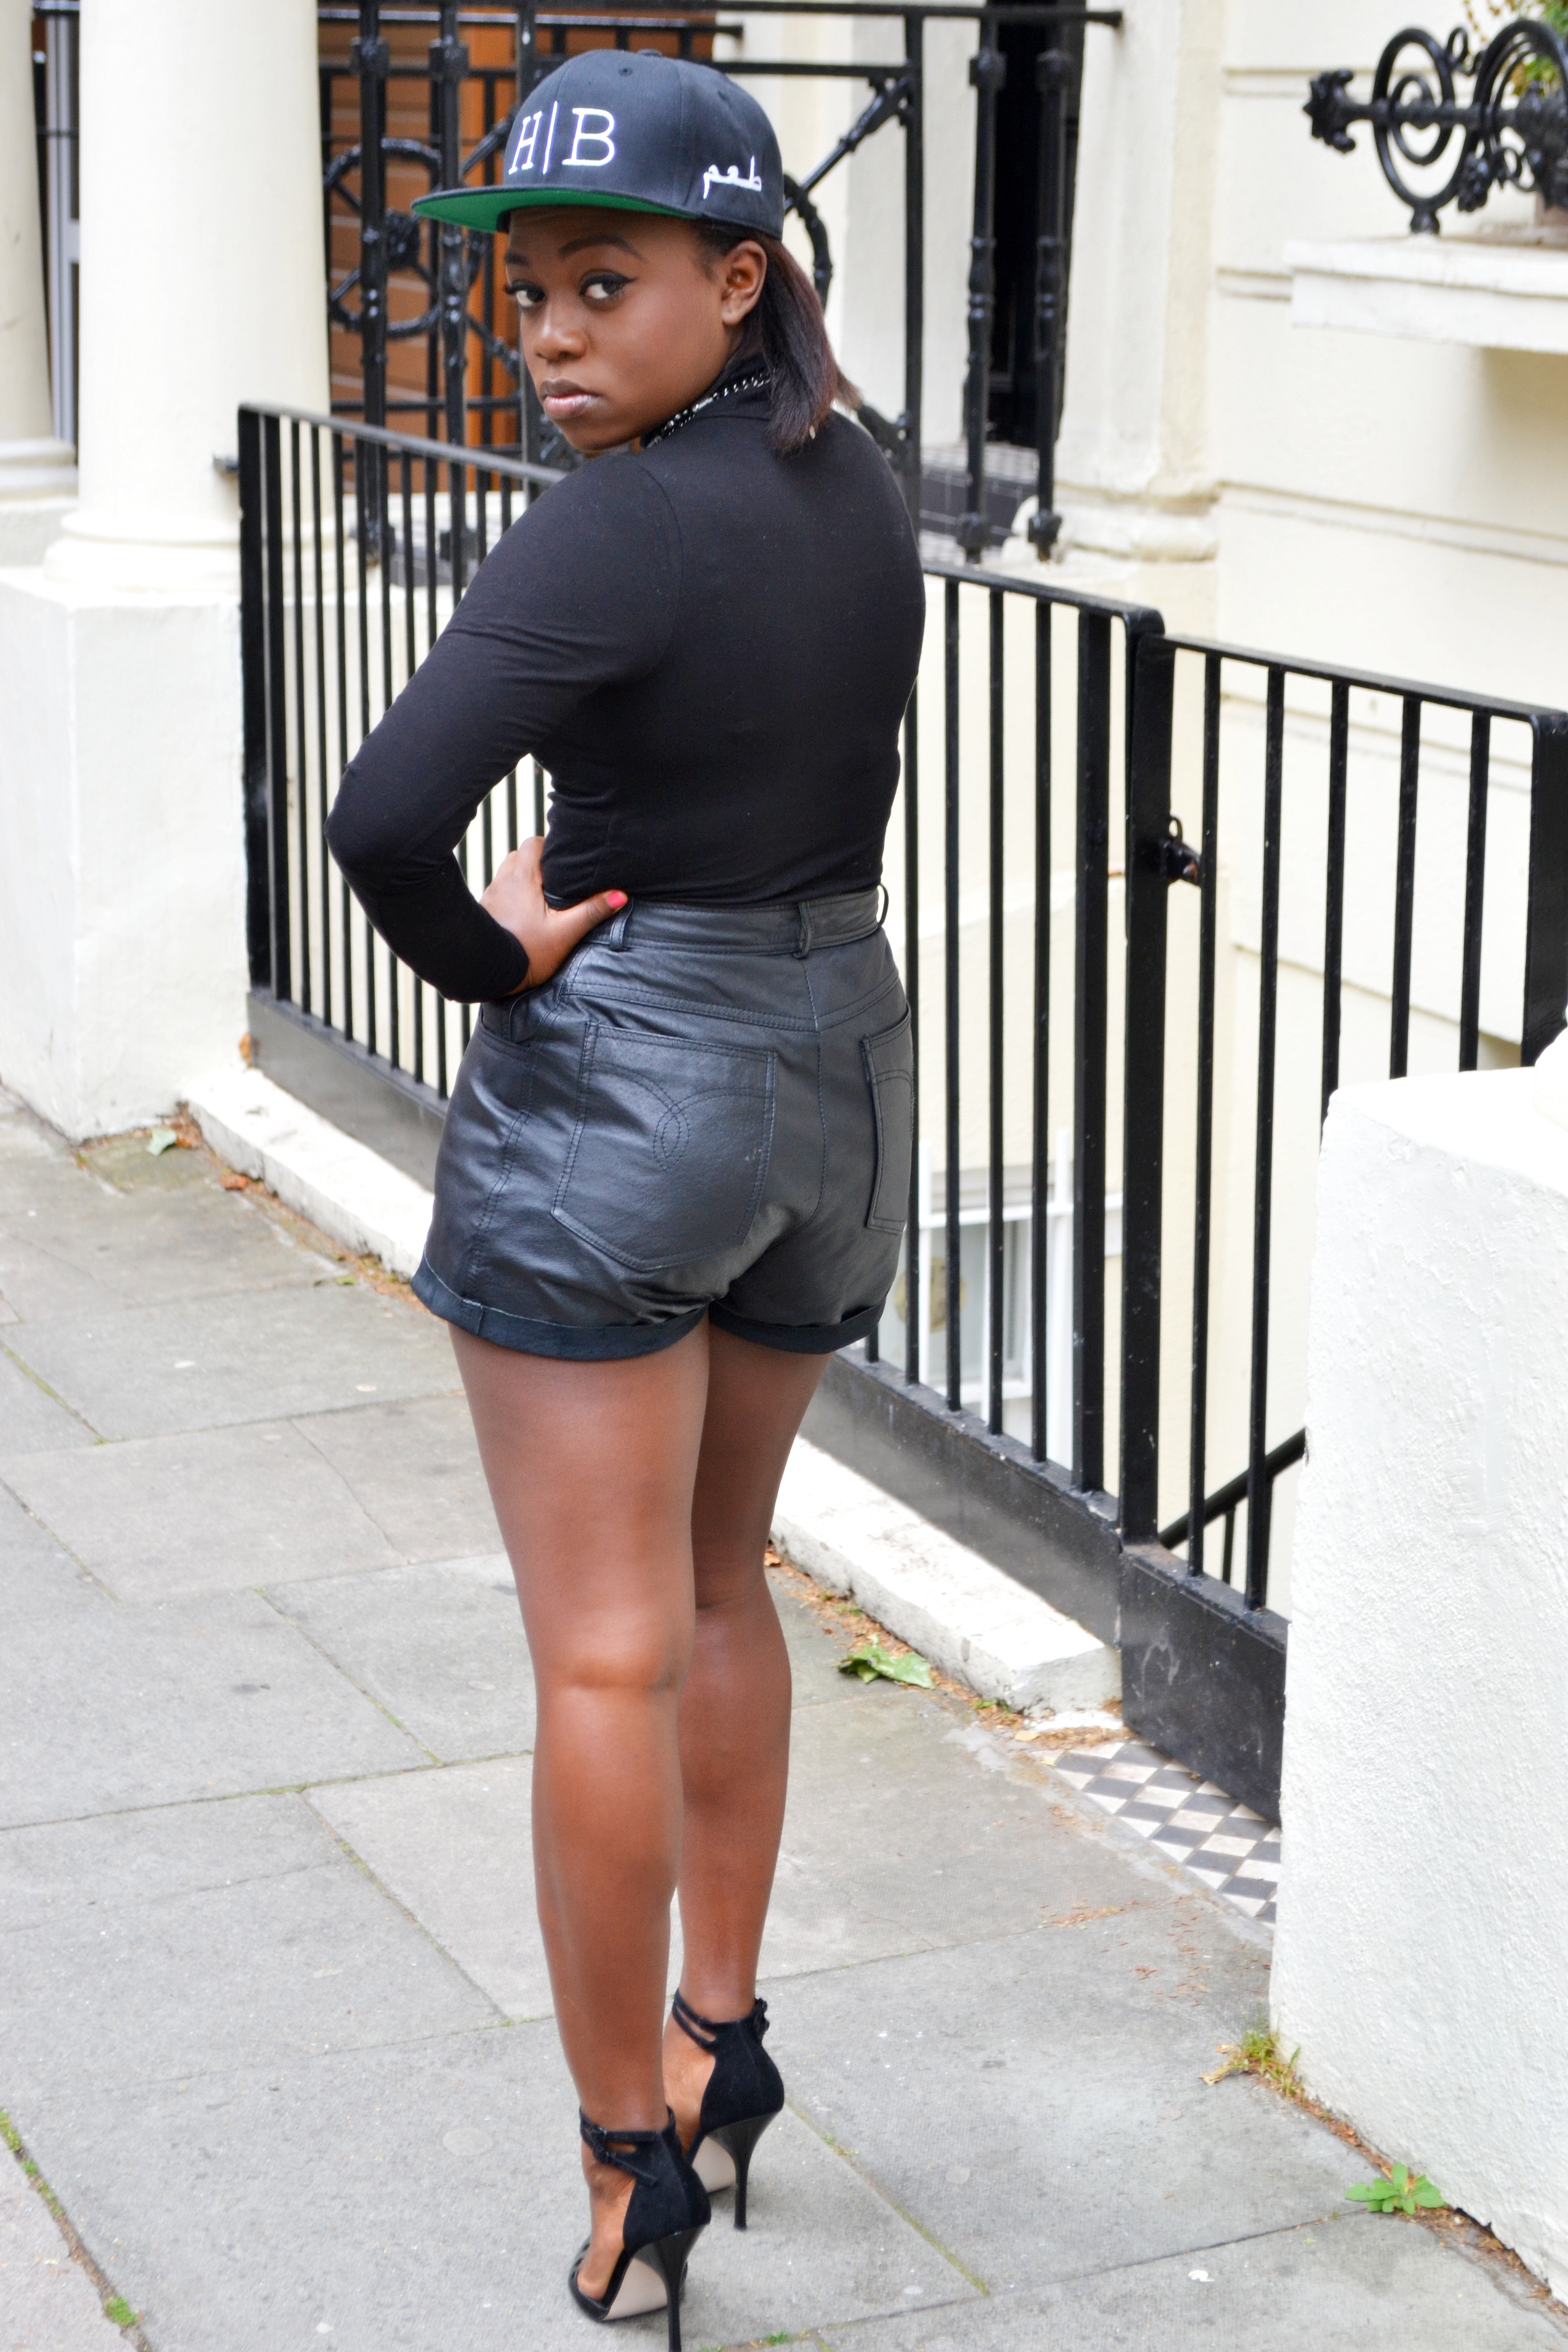
But when my friend Juny, a new designer based in London came out with his first collection, I had to have one! I love it and I just might incorporate it into my everyday style now. I wore this outfit on Saturday and as I was walking down Oxford Street, I had people stop me being like "Is your hat Haute Banter as in the new London designer? I really want one!'' and I'm like ''Ooooh yeahh that's right it is, get yours here!''

I love love these ASOS heels so much and have been wearing them way too much lately. They are such a necessity in my wardrobe and are just the perfect shoes to complement the exact look I want with many outfits.

Mirror Me:

Haute Banter Script Snapback

Zara Necklace

ASOS top with polo neck

Vintage Leather Cutoffs (Similar here and here)

ASOS Prior Pointed Heels